Disney's Frozen
Arvada Center for the Arts • 2025
Costume Design: Emily Valley
Additional Costumes by: Ryan Moller
One year after I worked on Disney’s Frozen at Tuacahn, I was working at The Arvada Center and we were told our upcoming season would feature Disney’s Frozen for our holiday show. Working at a smaller theater meant I would be in charge of much more than building one look this time around.
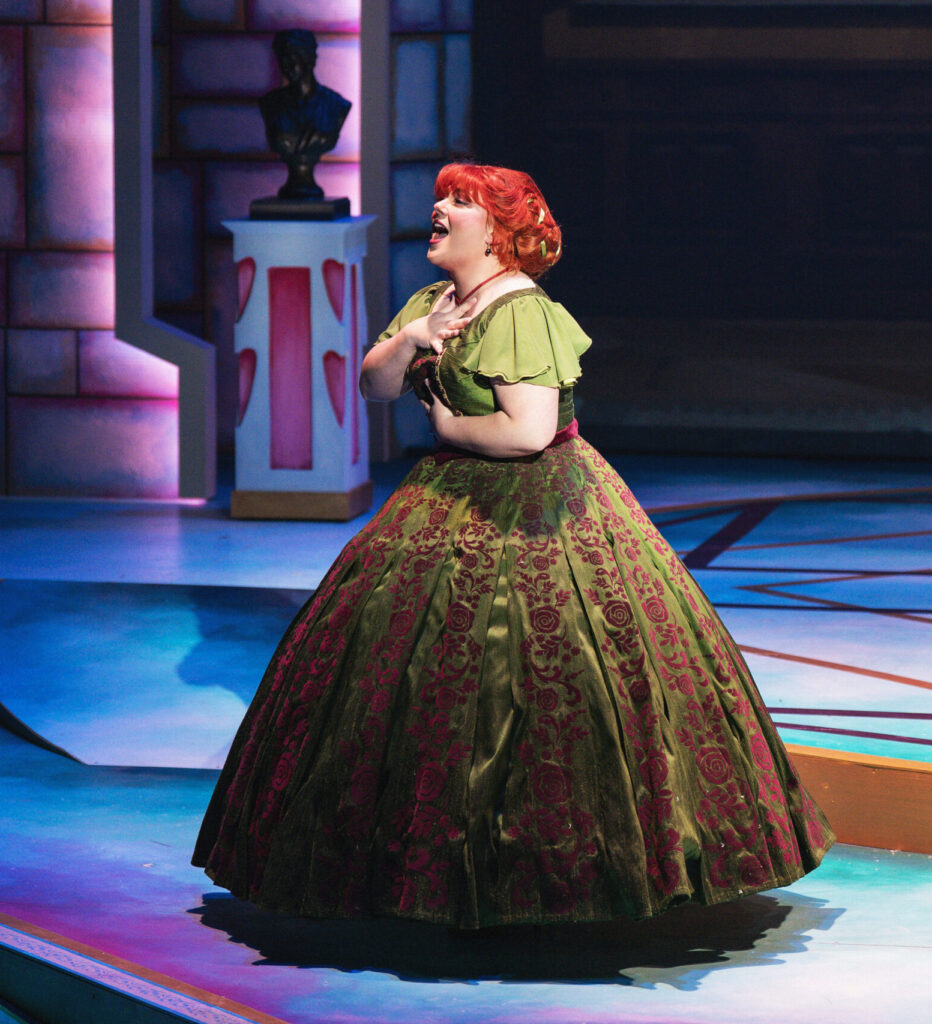
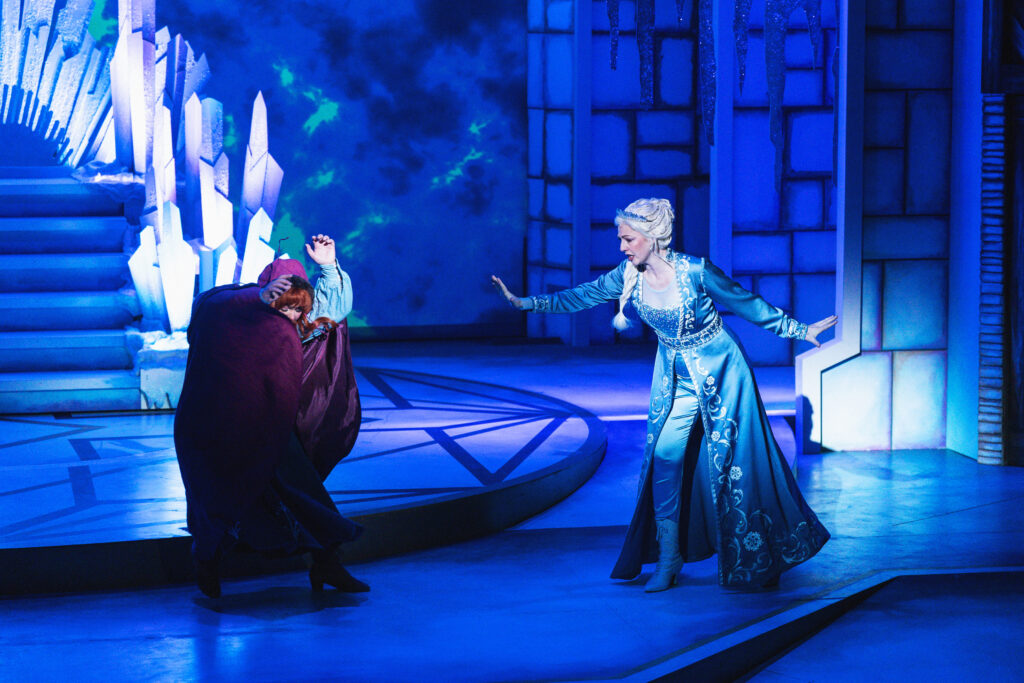
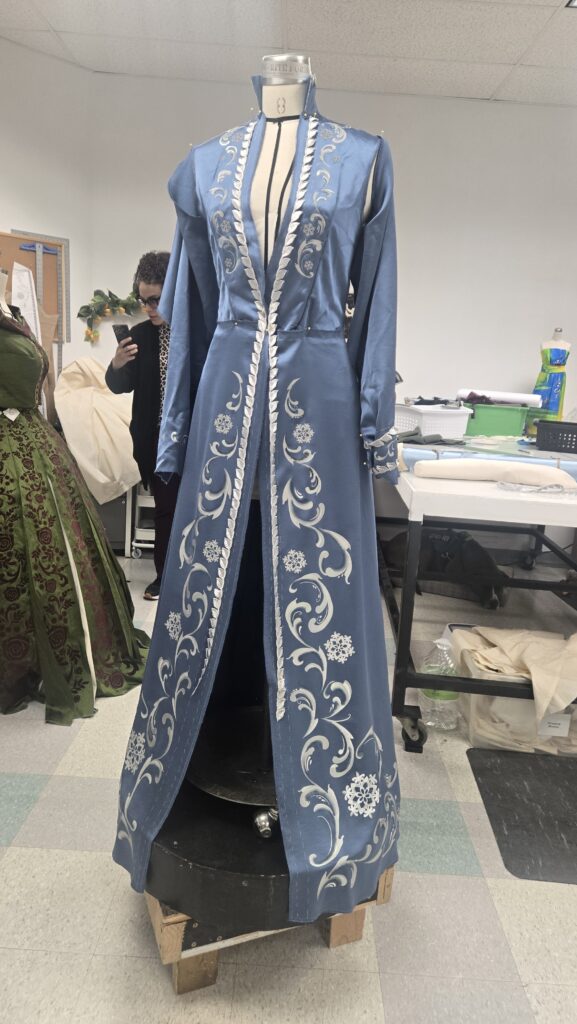
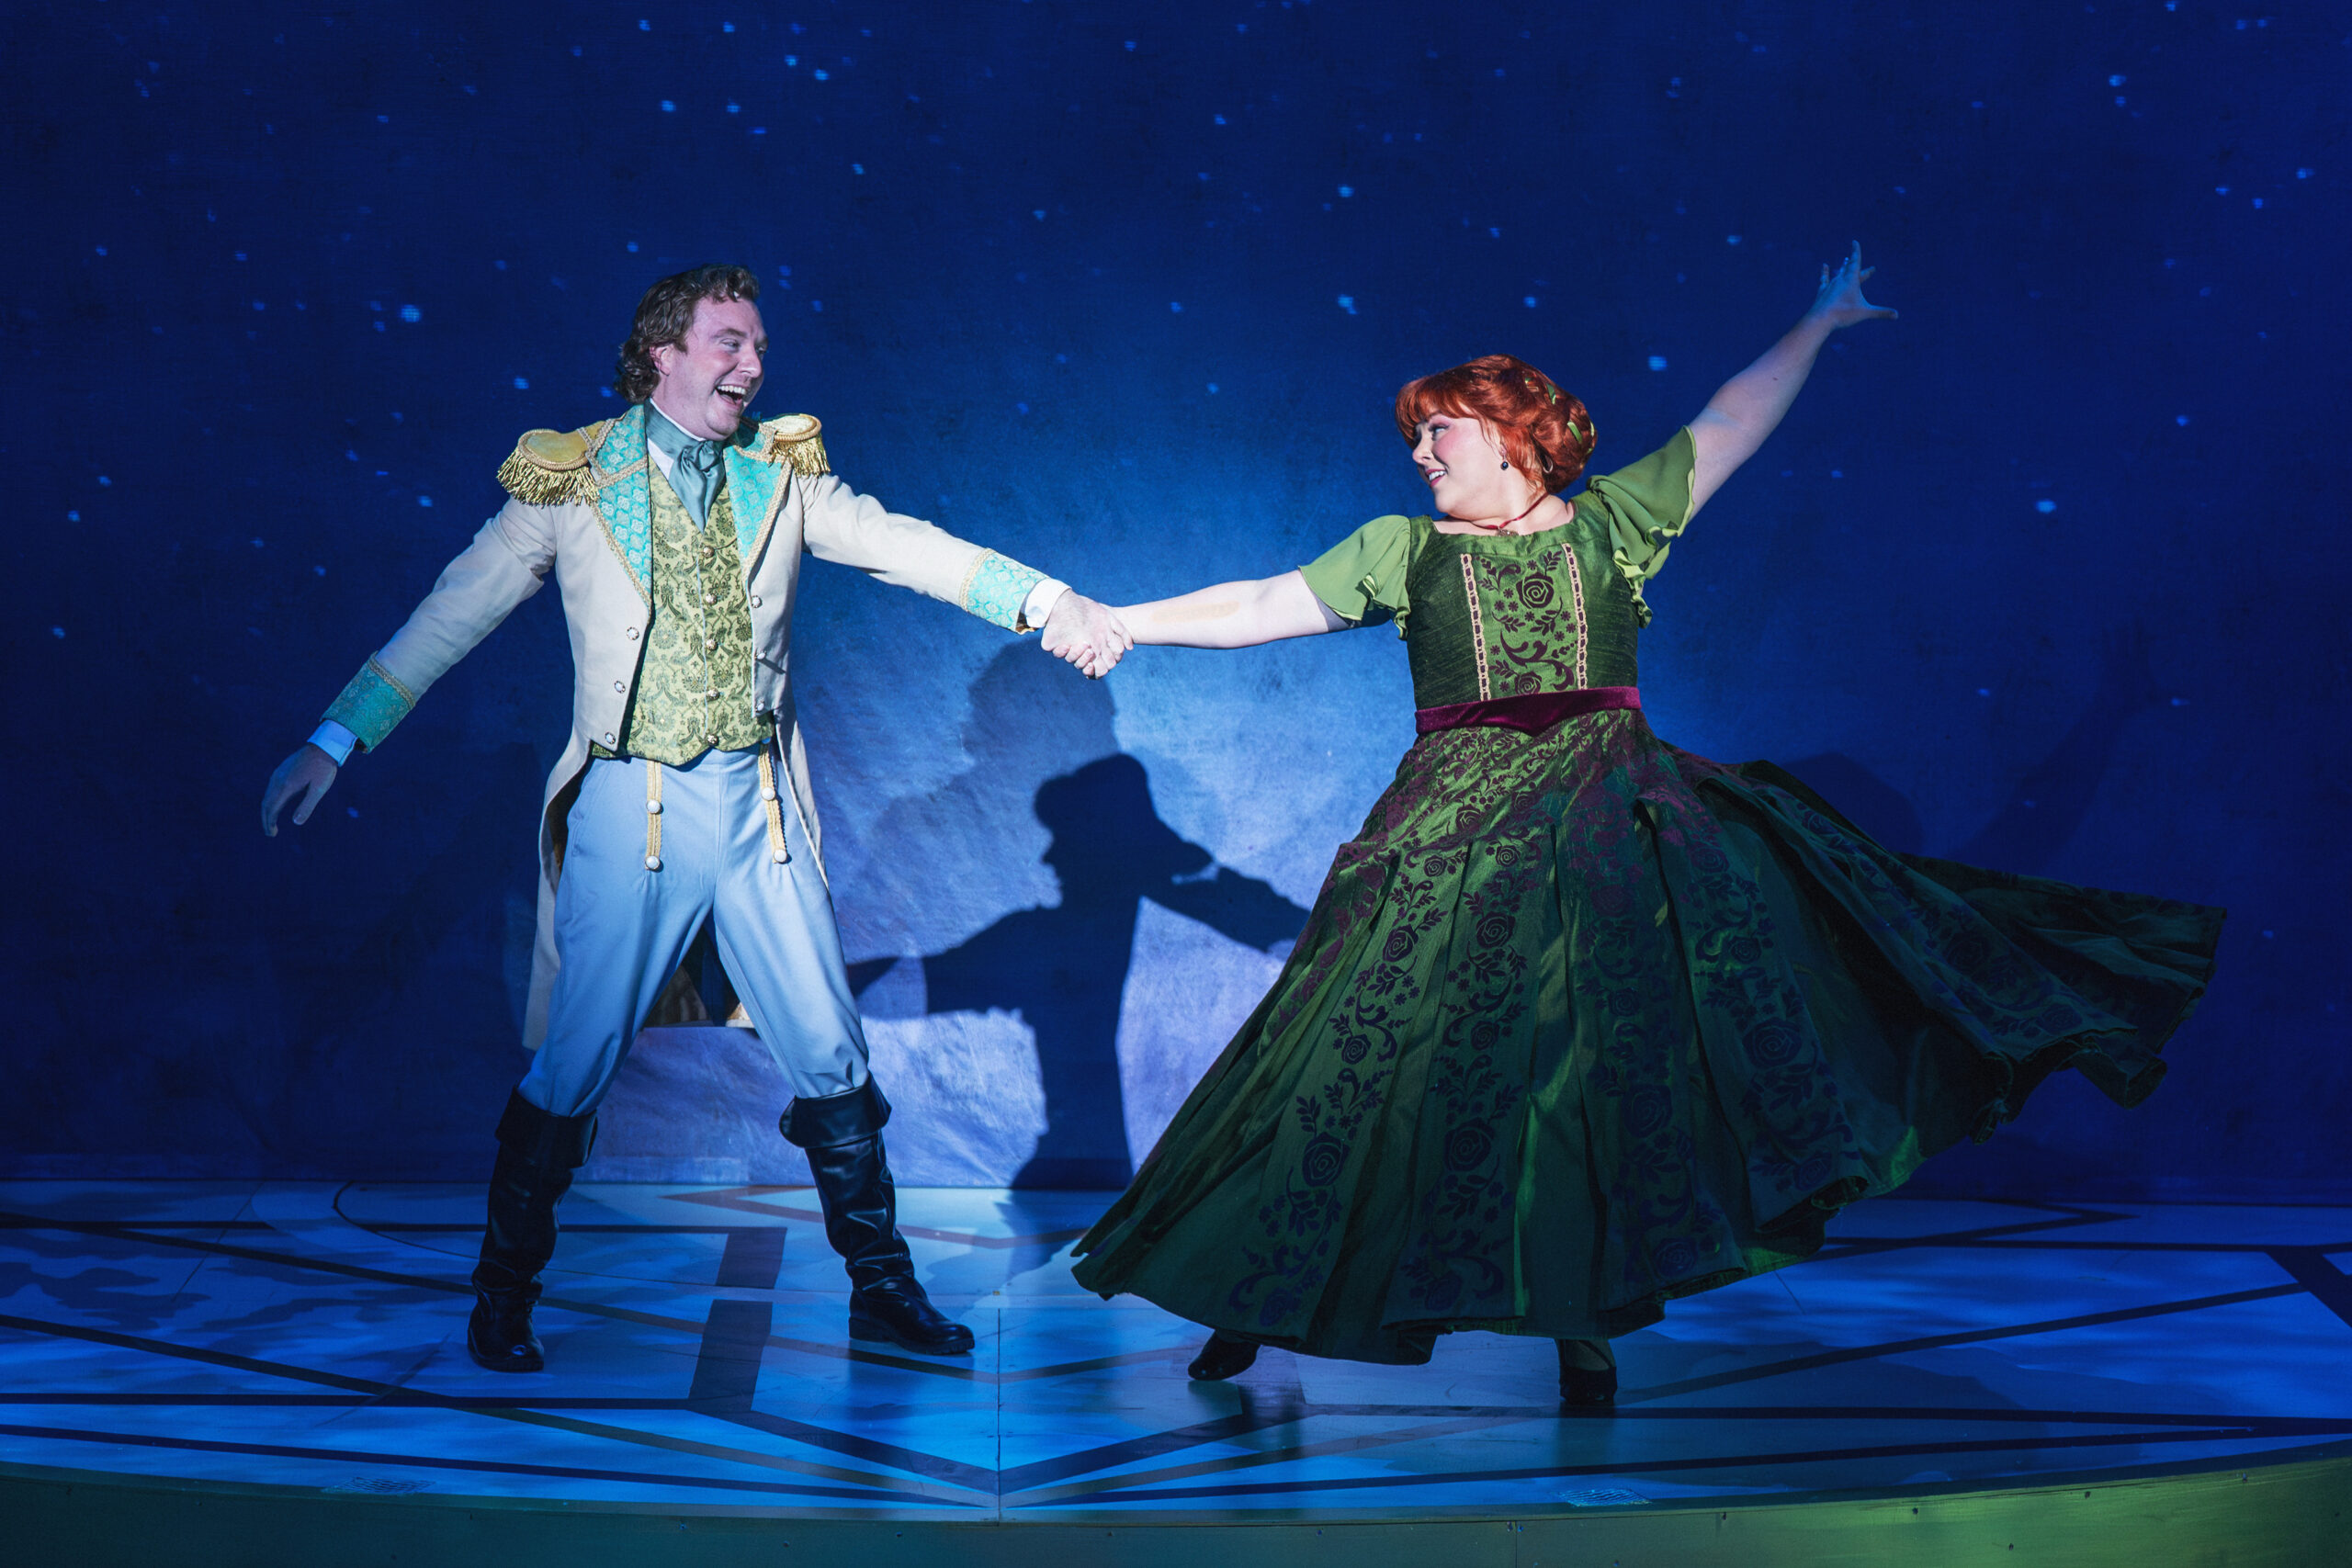
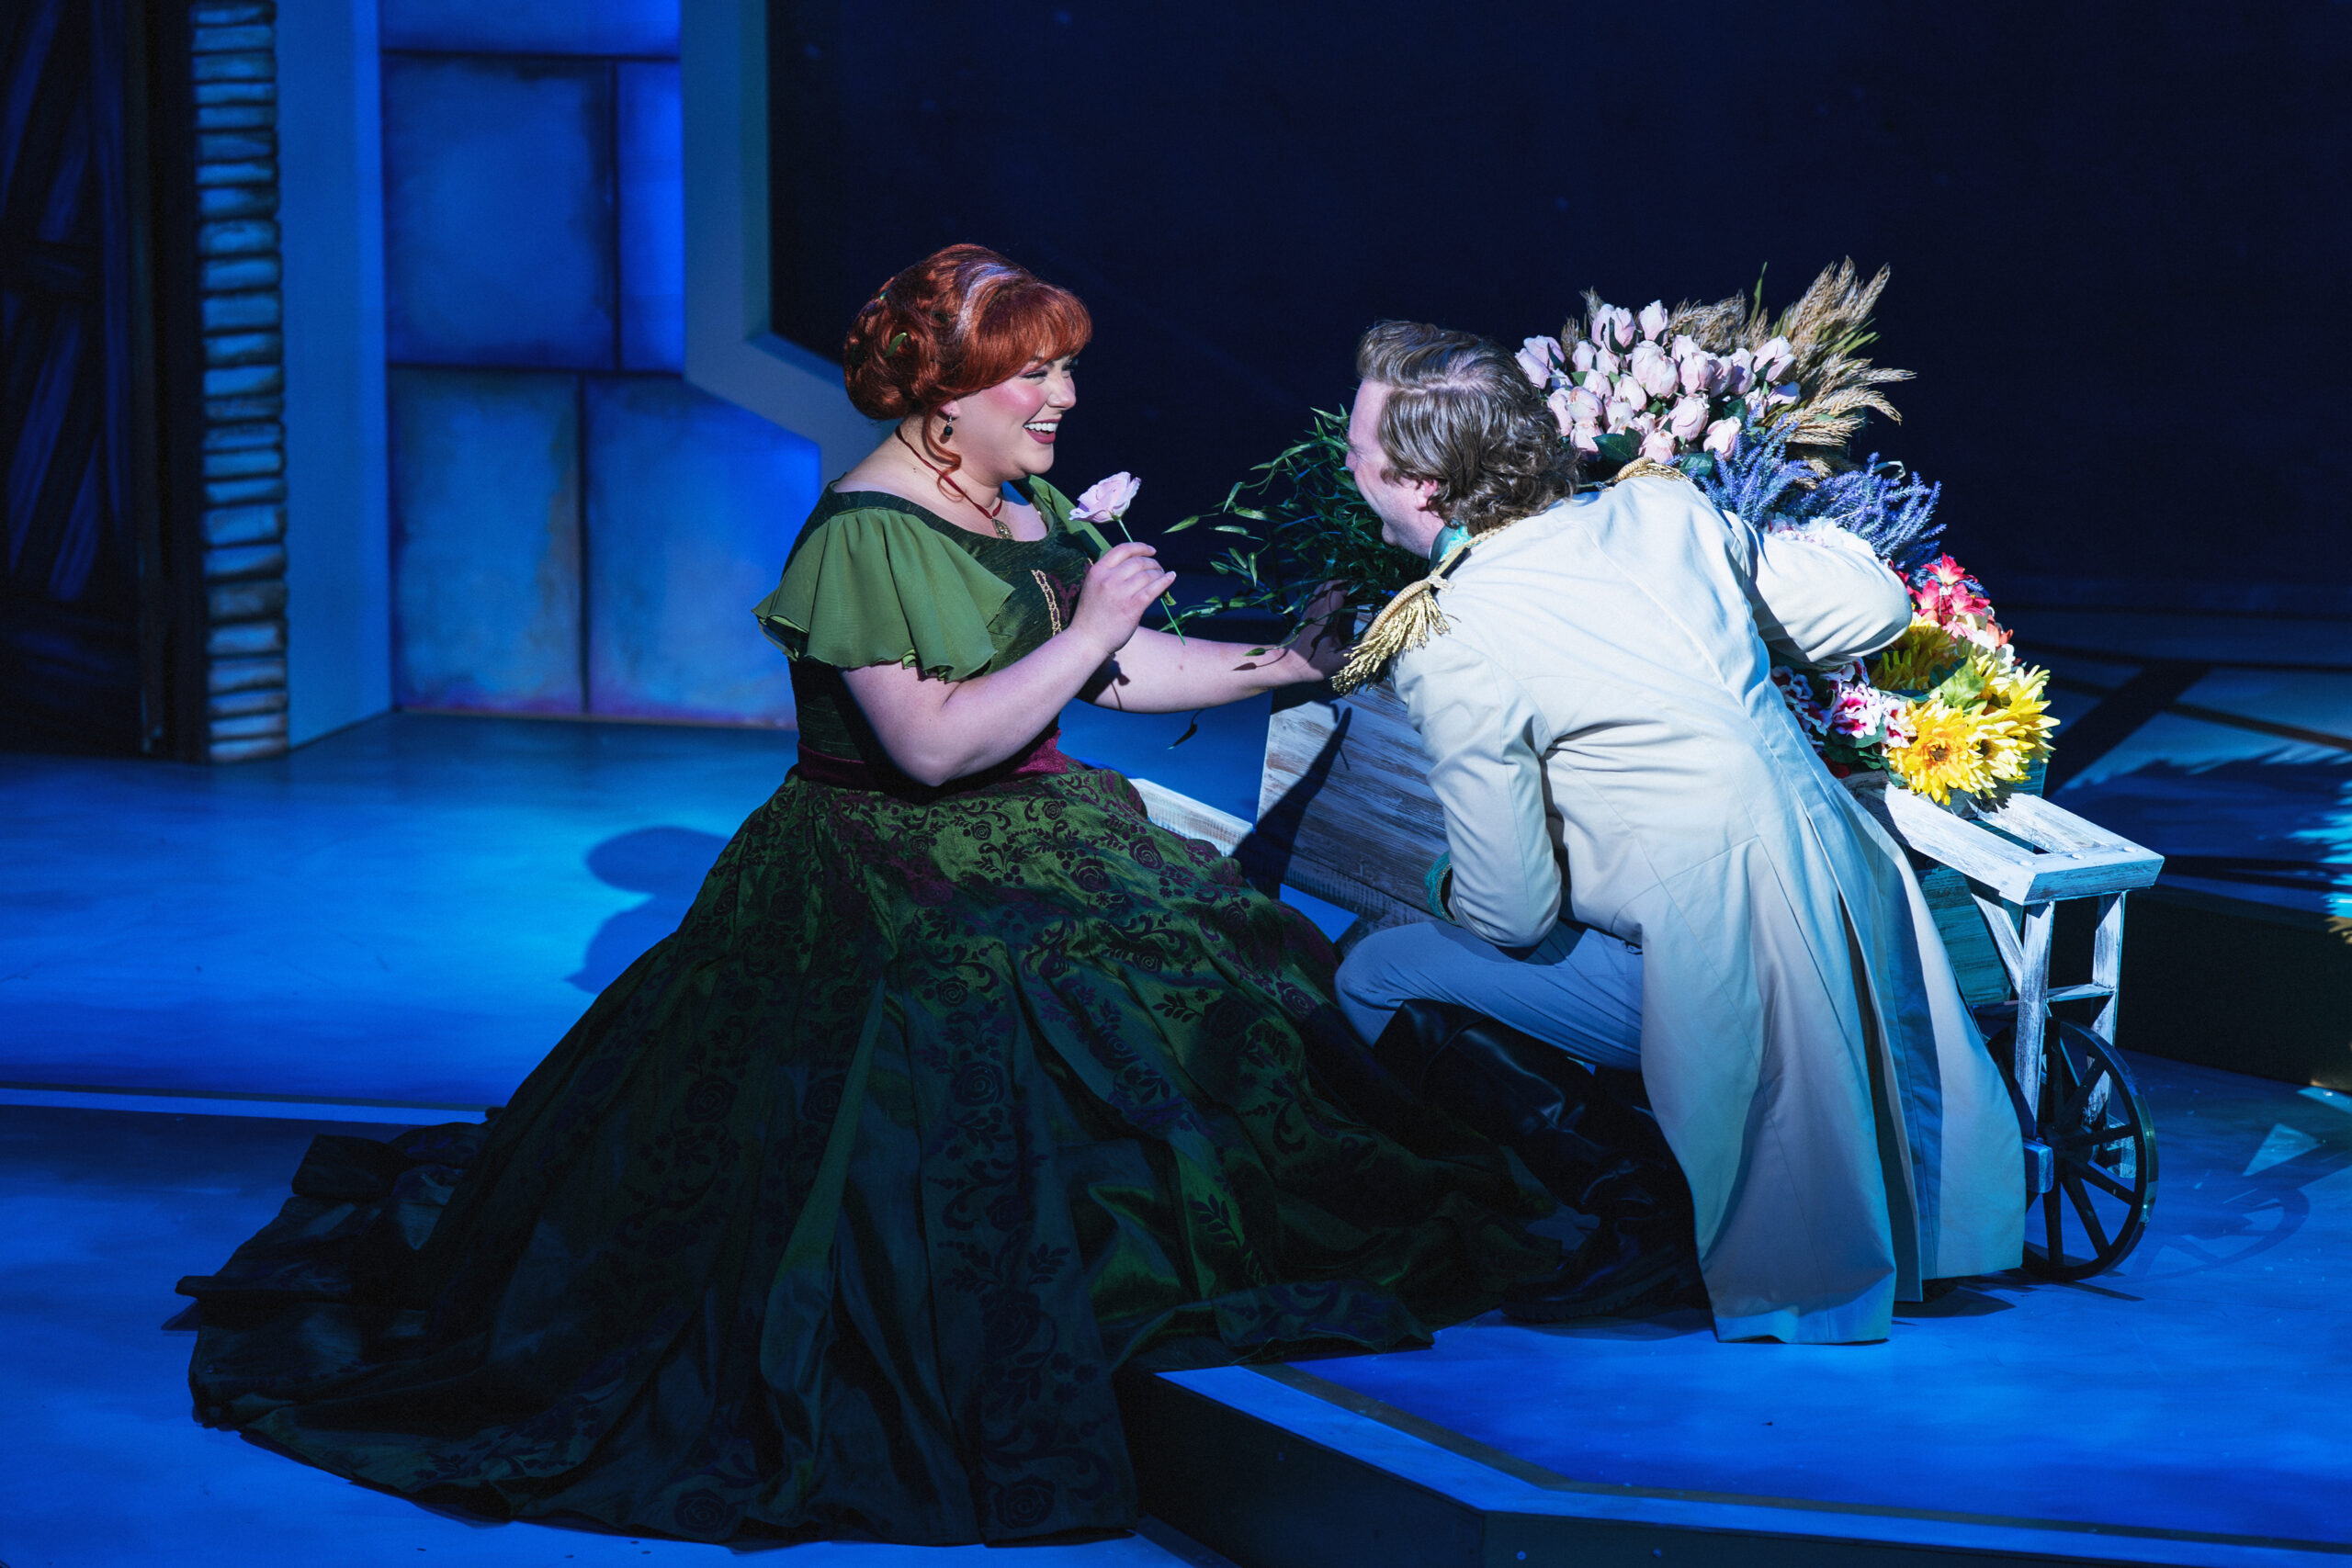
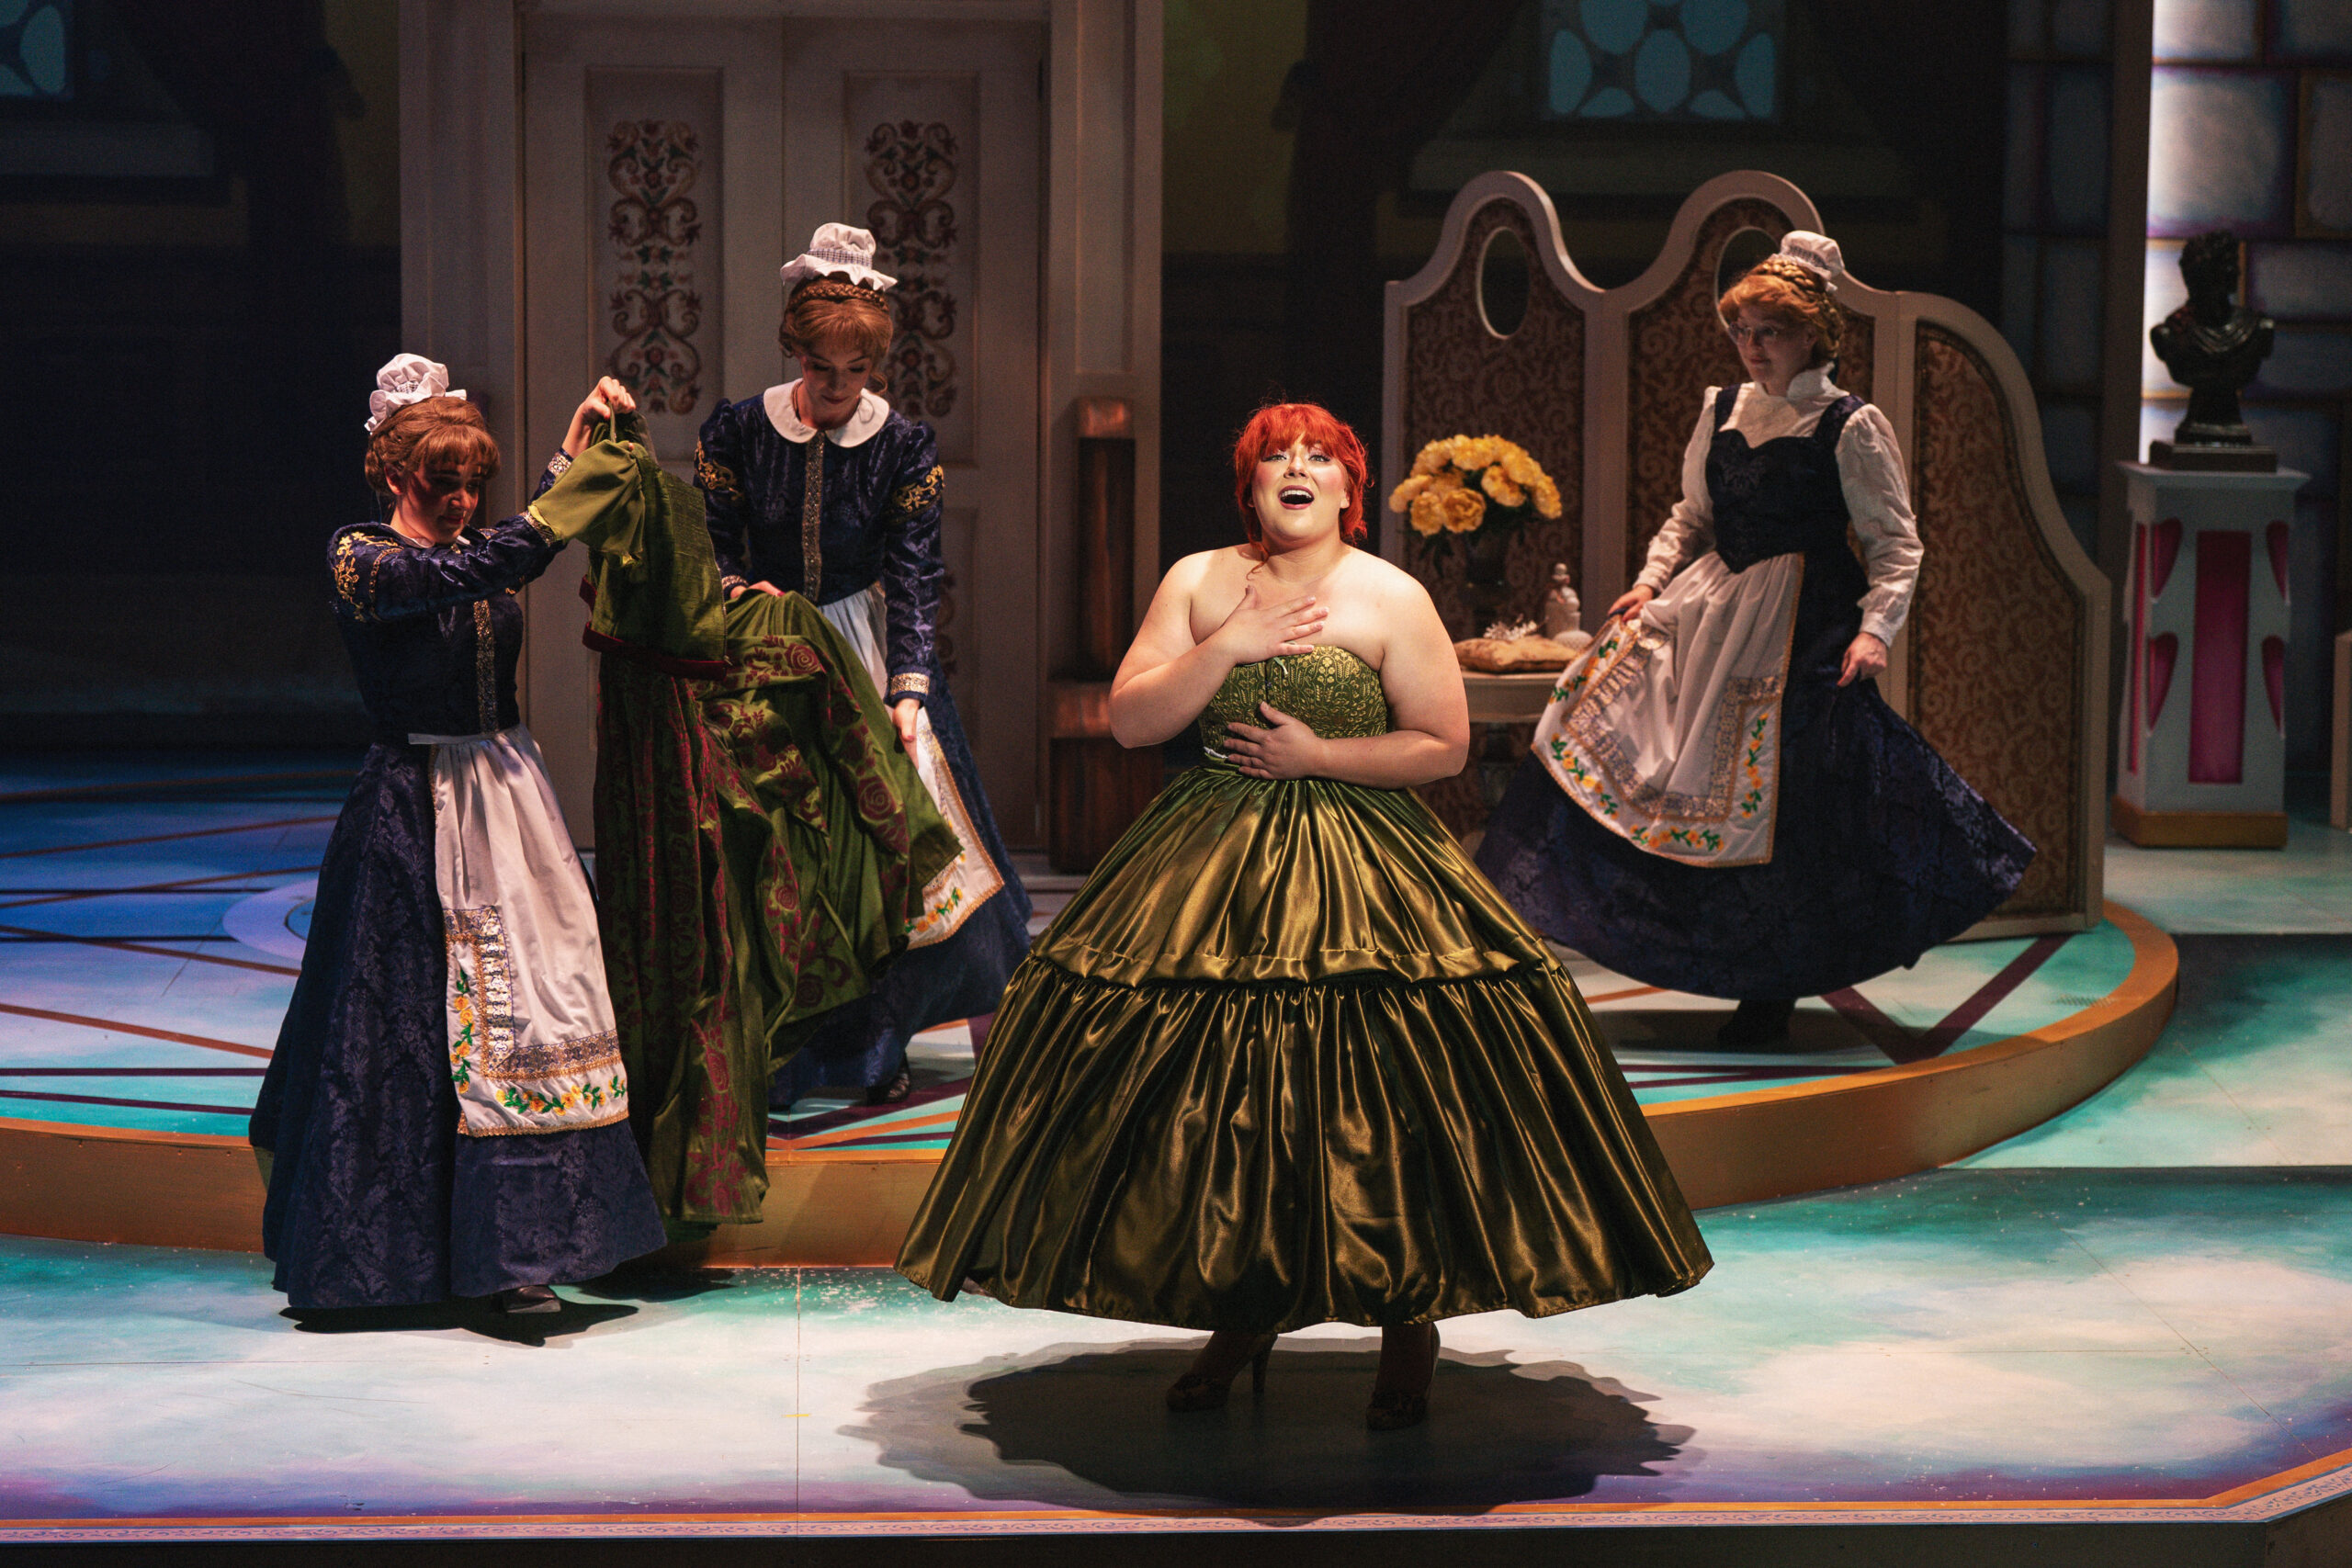
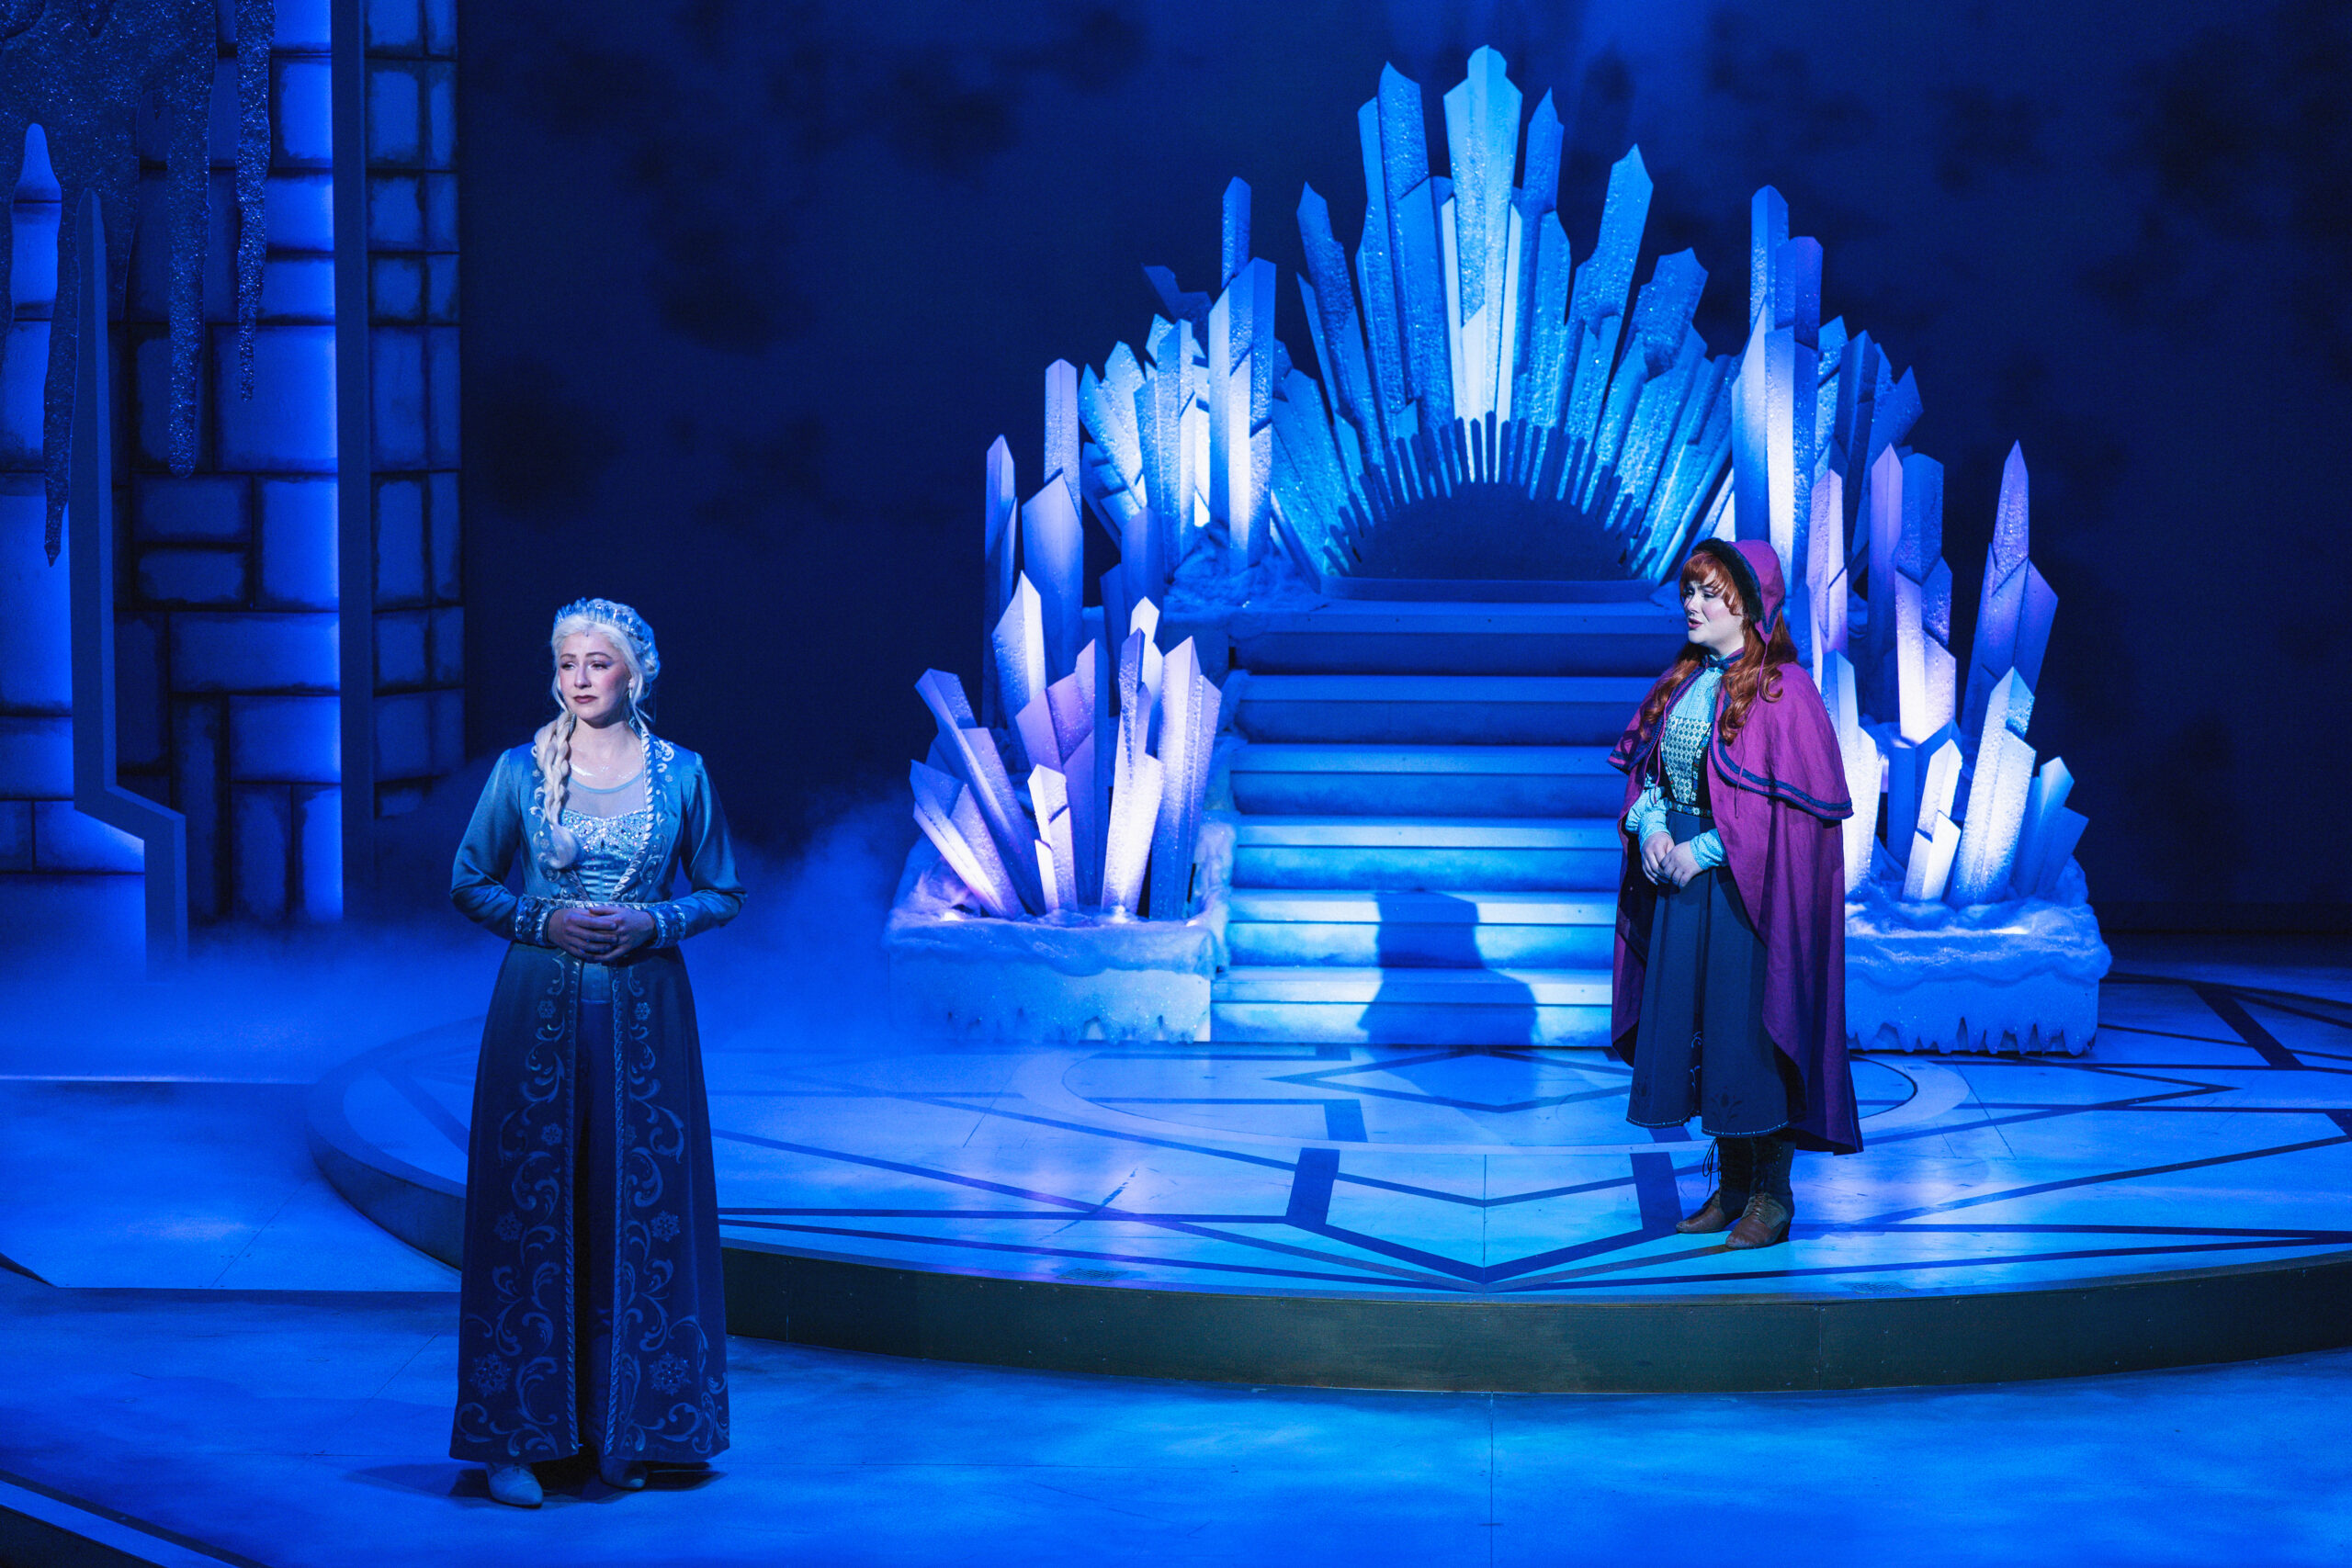
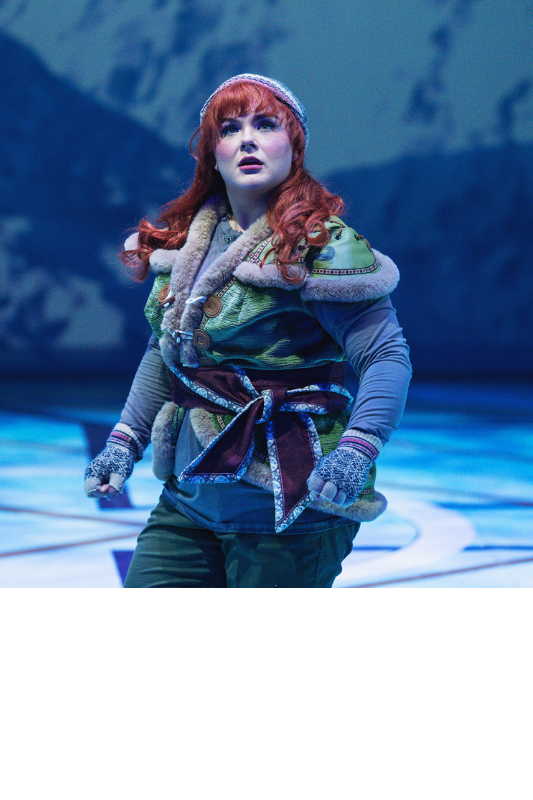
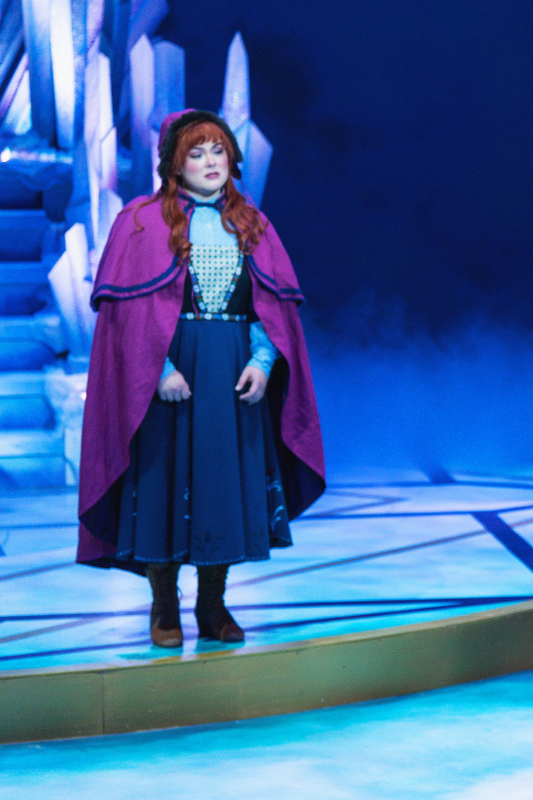
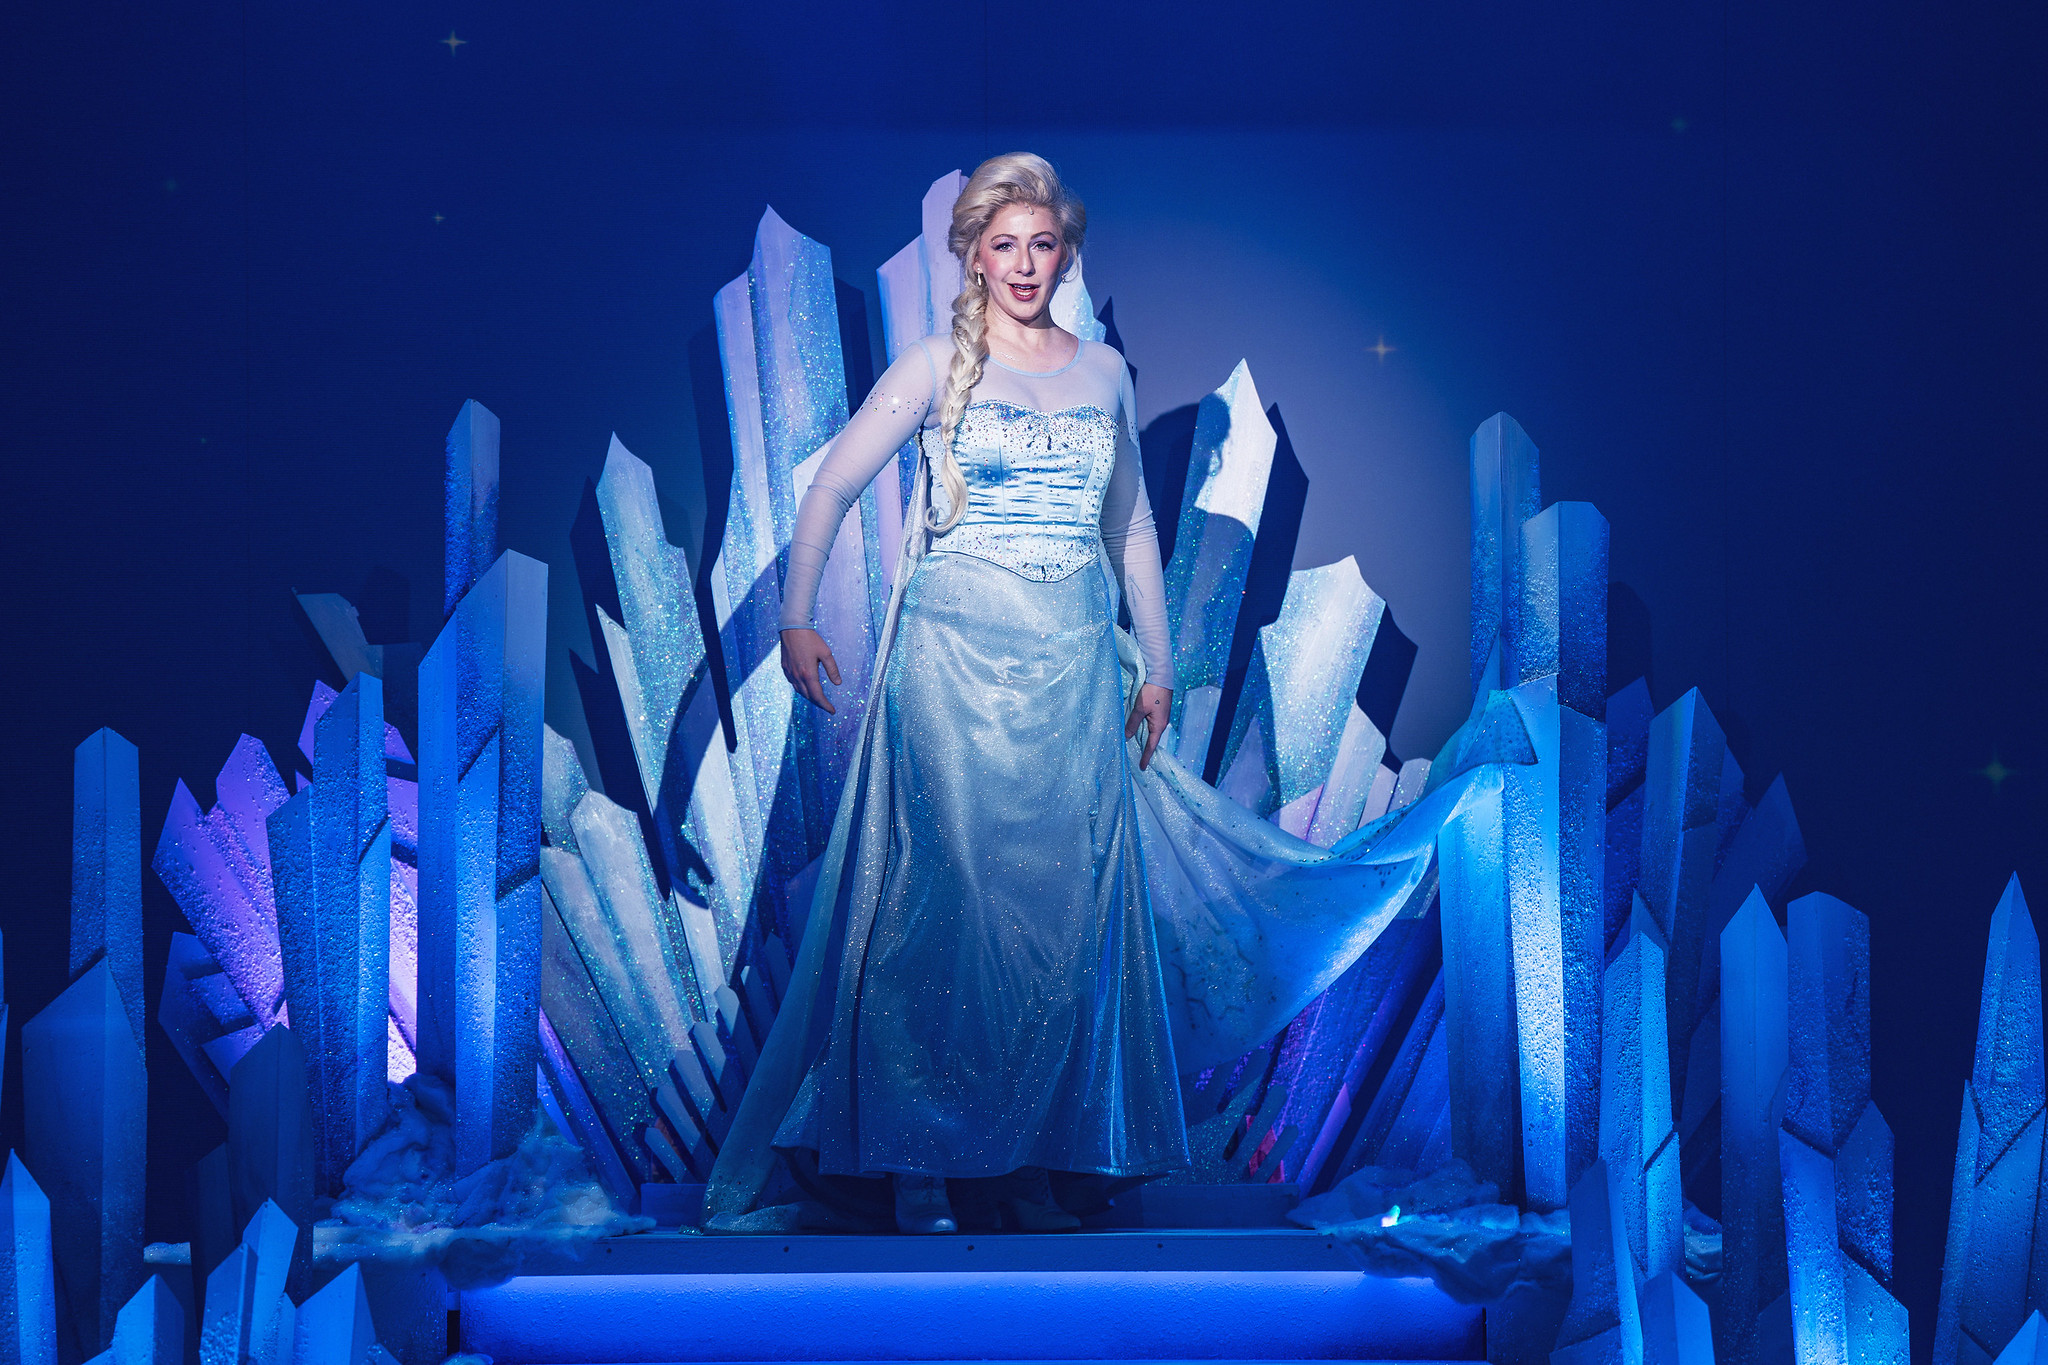
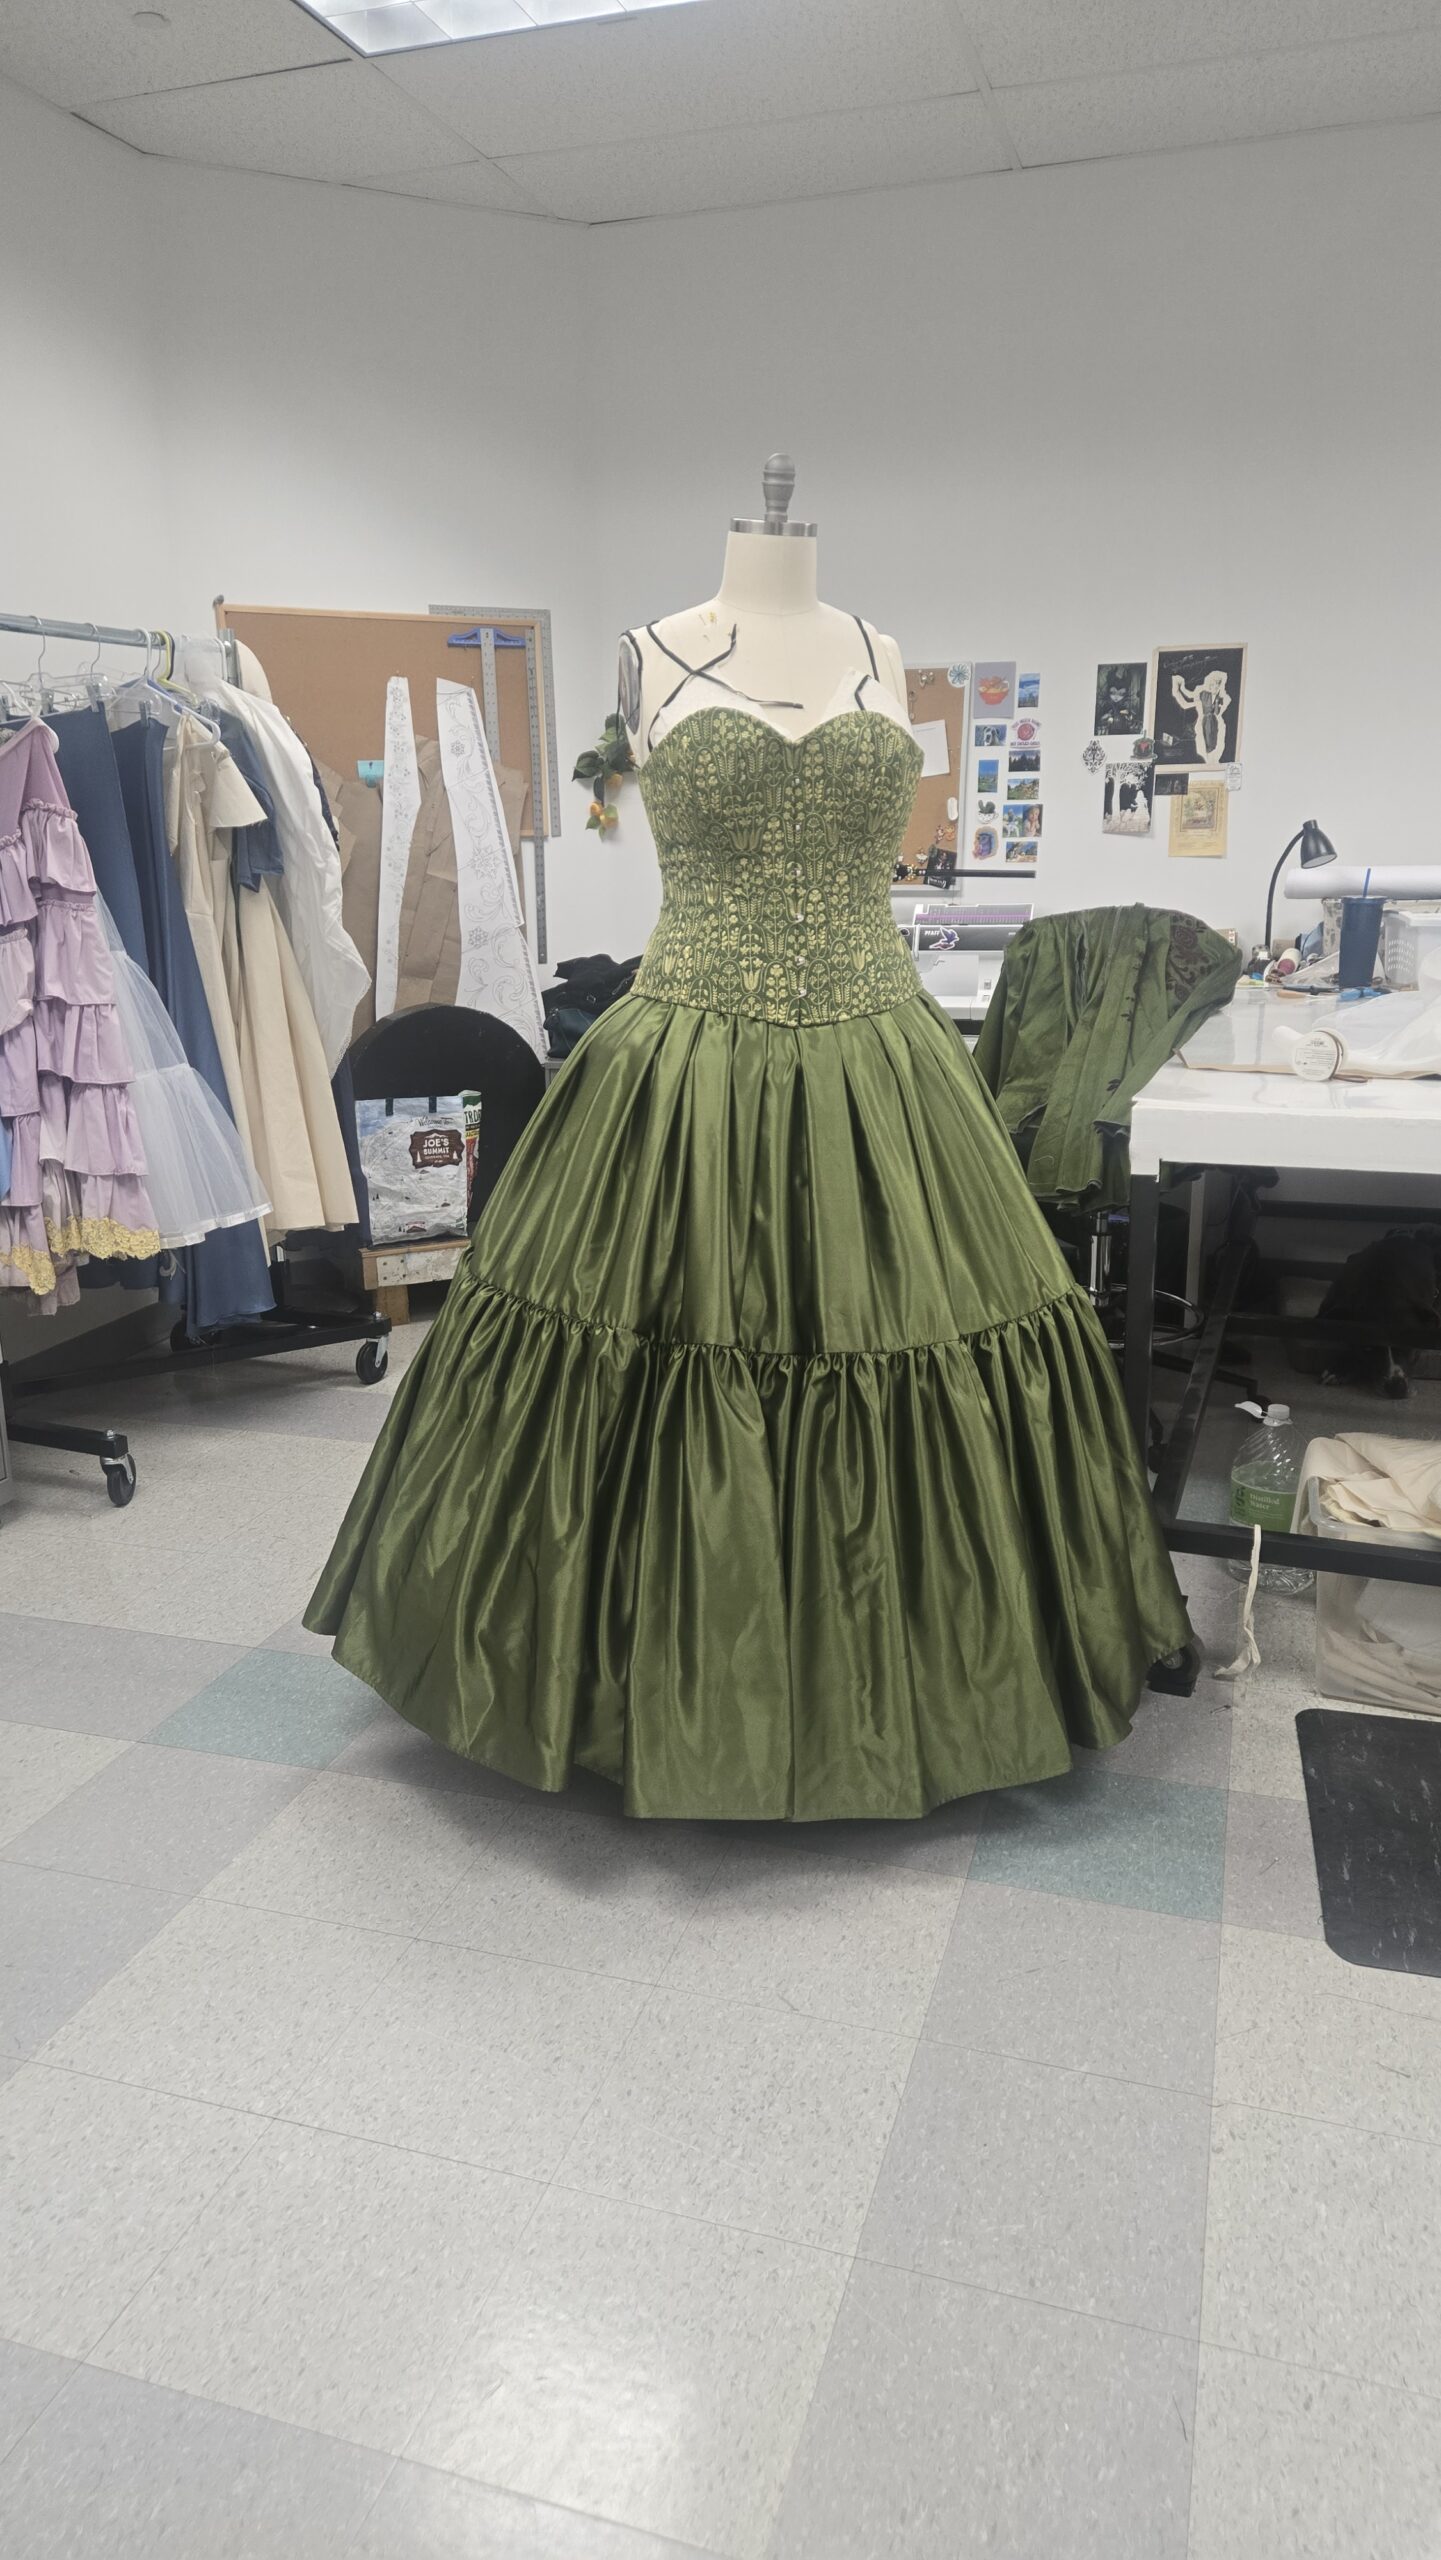
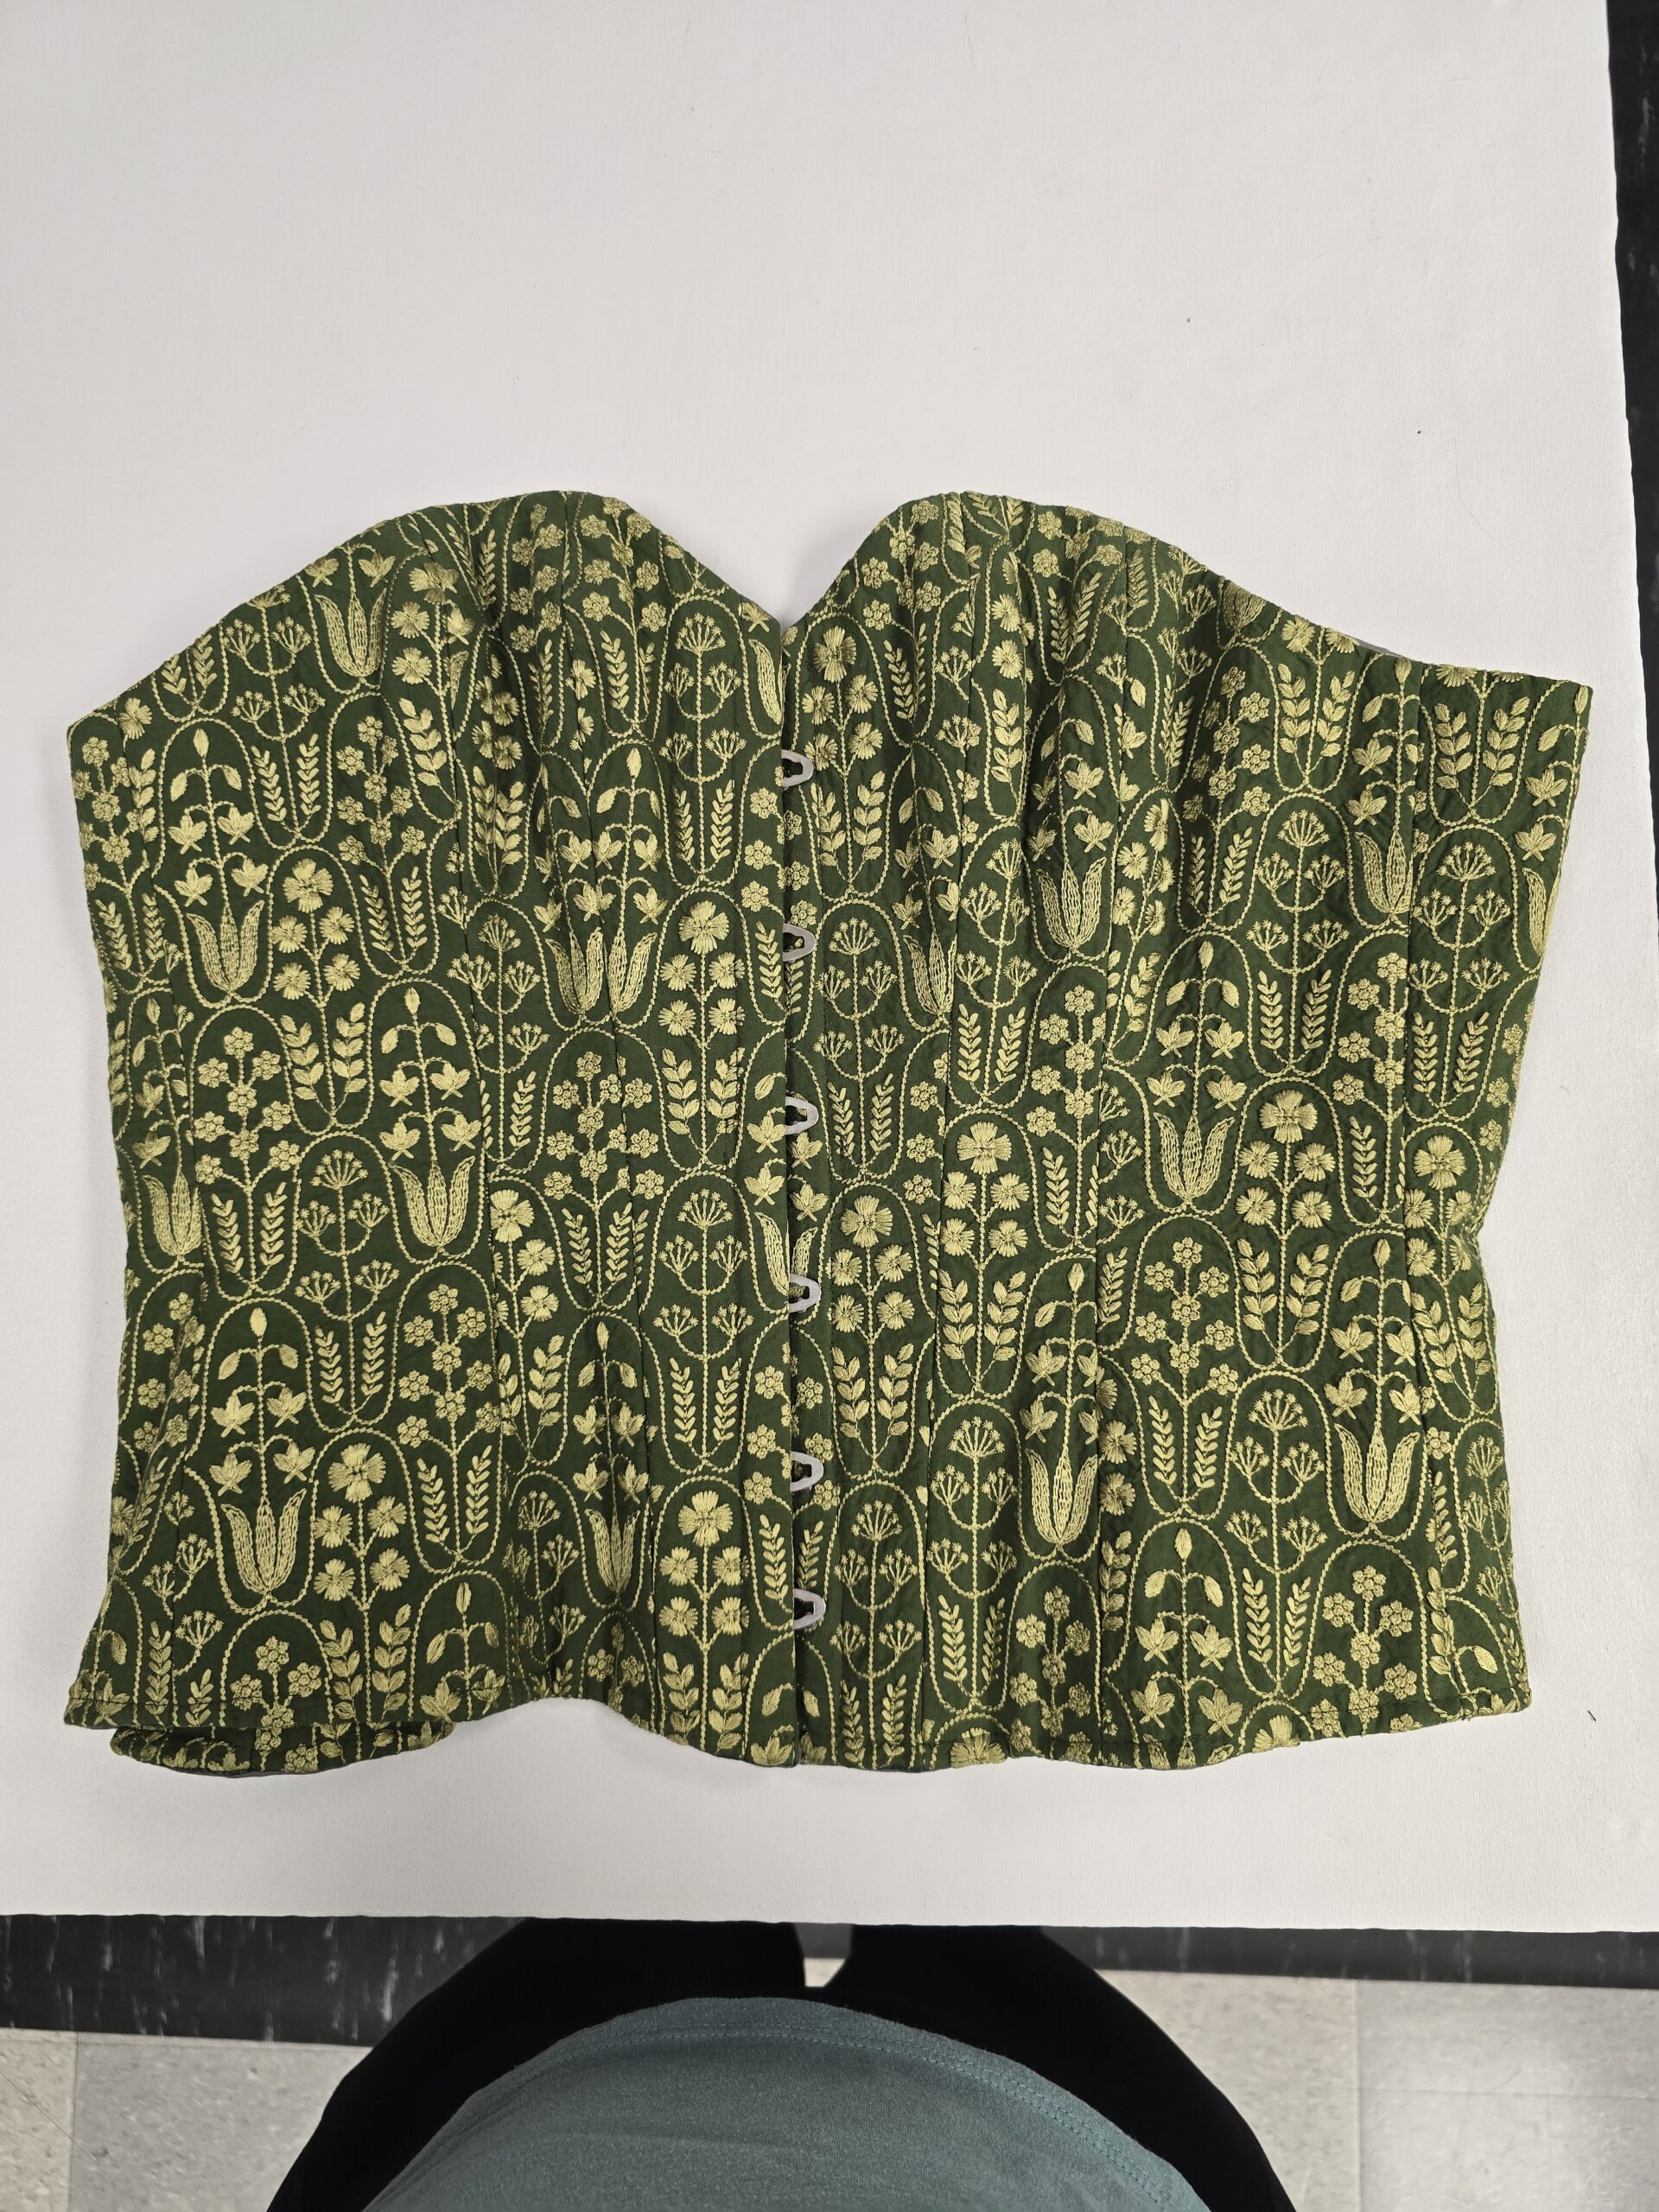
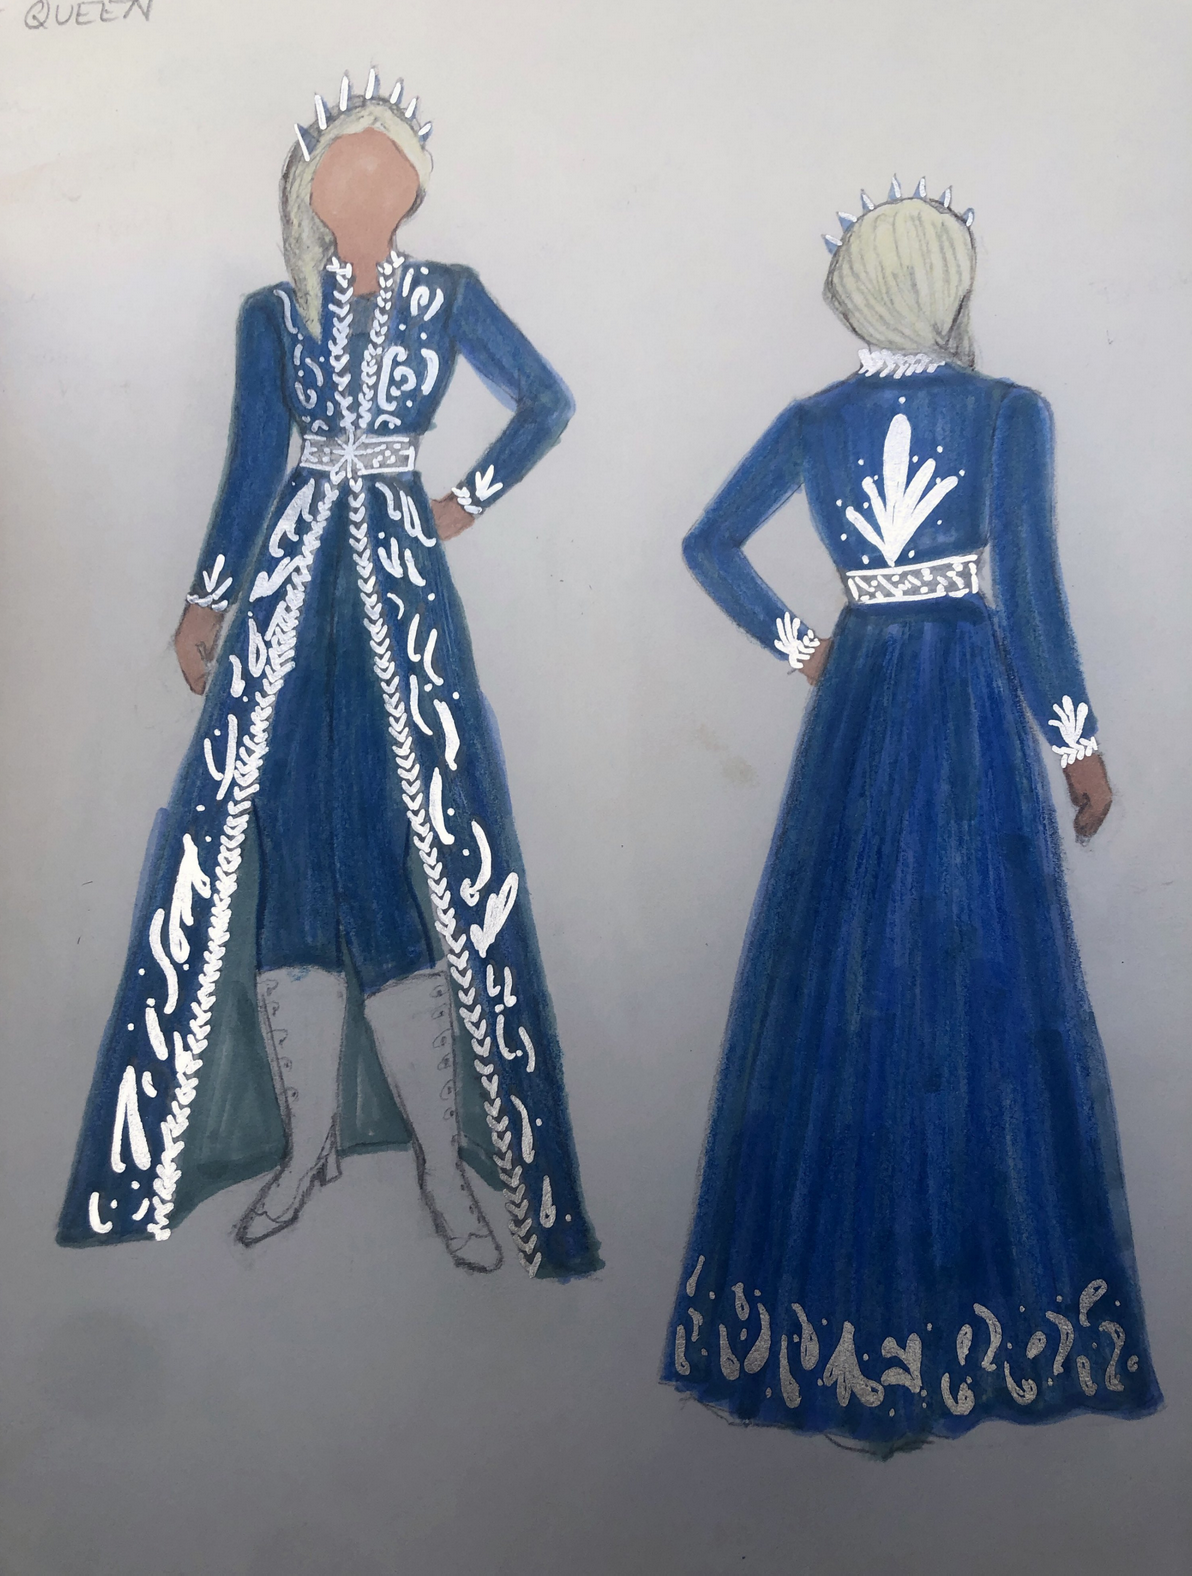
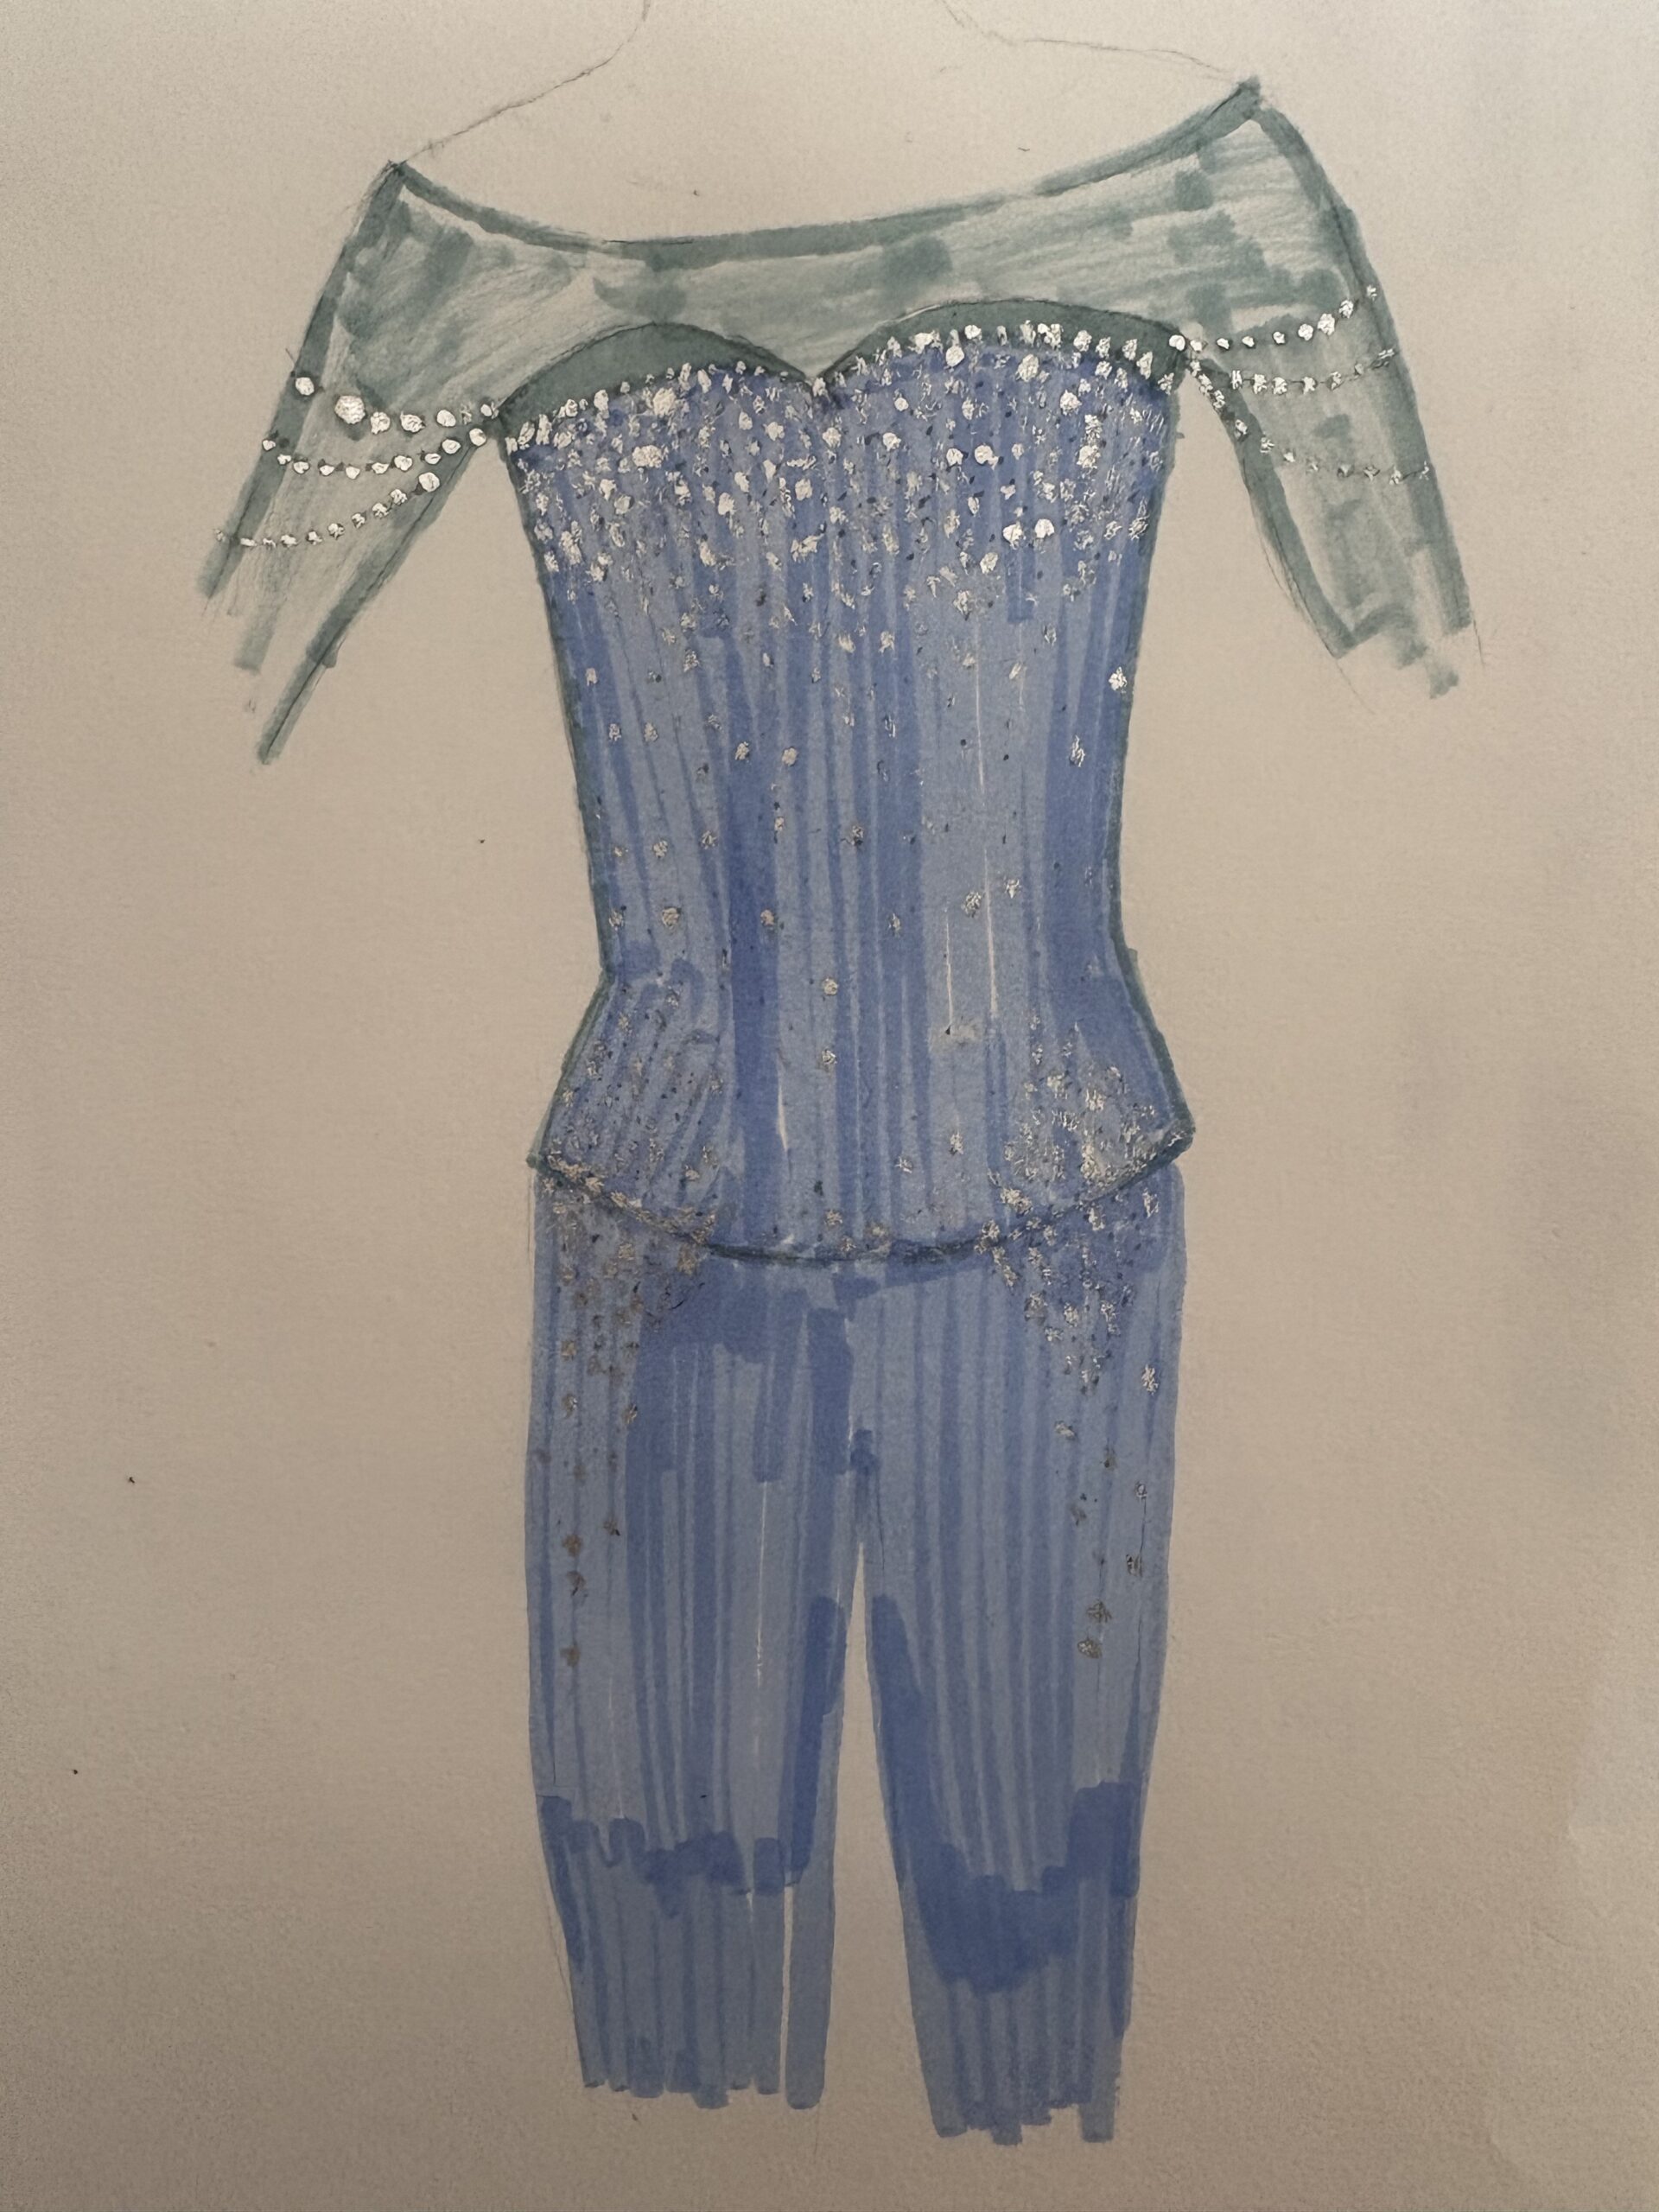
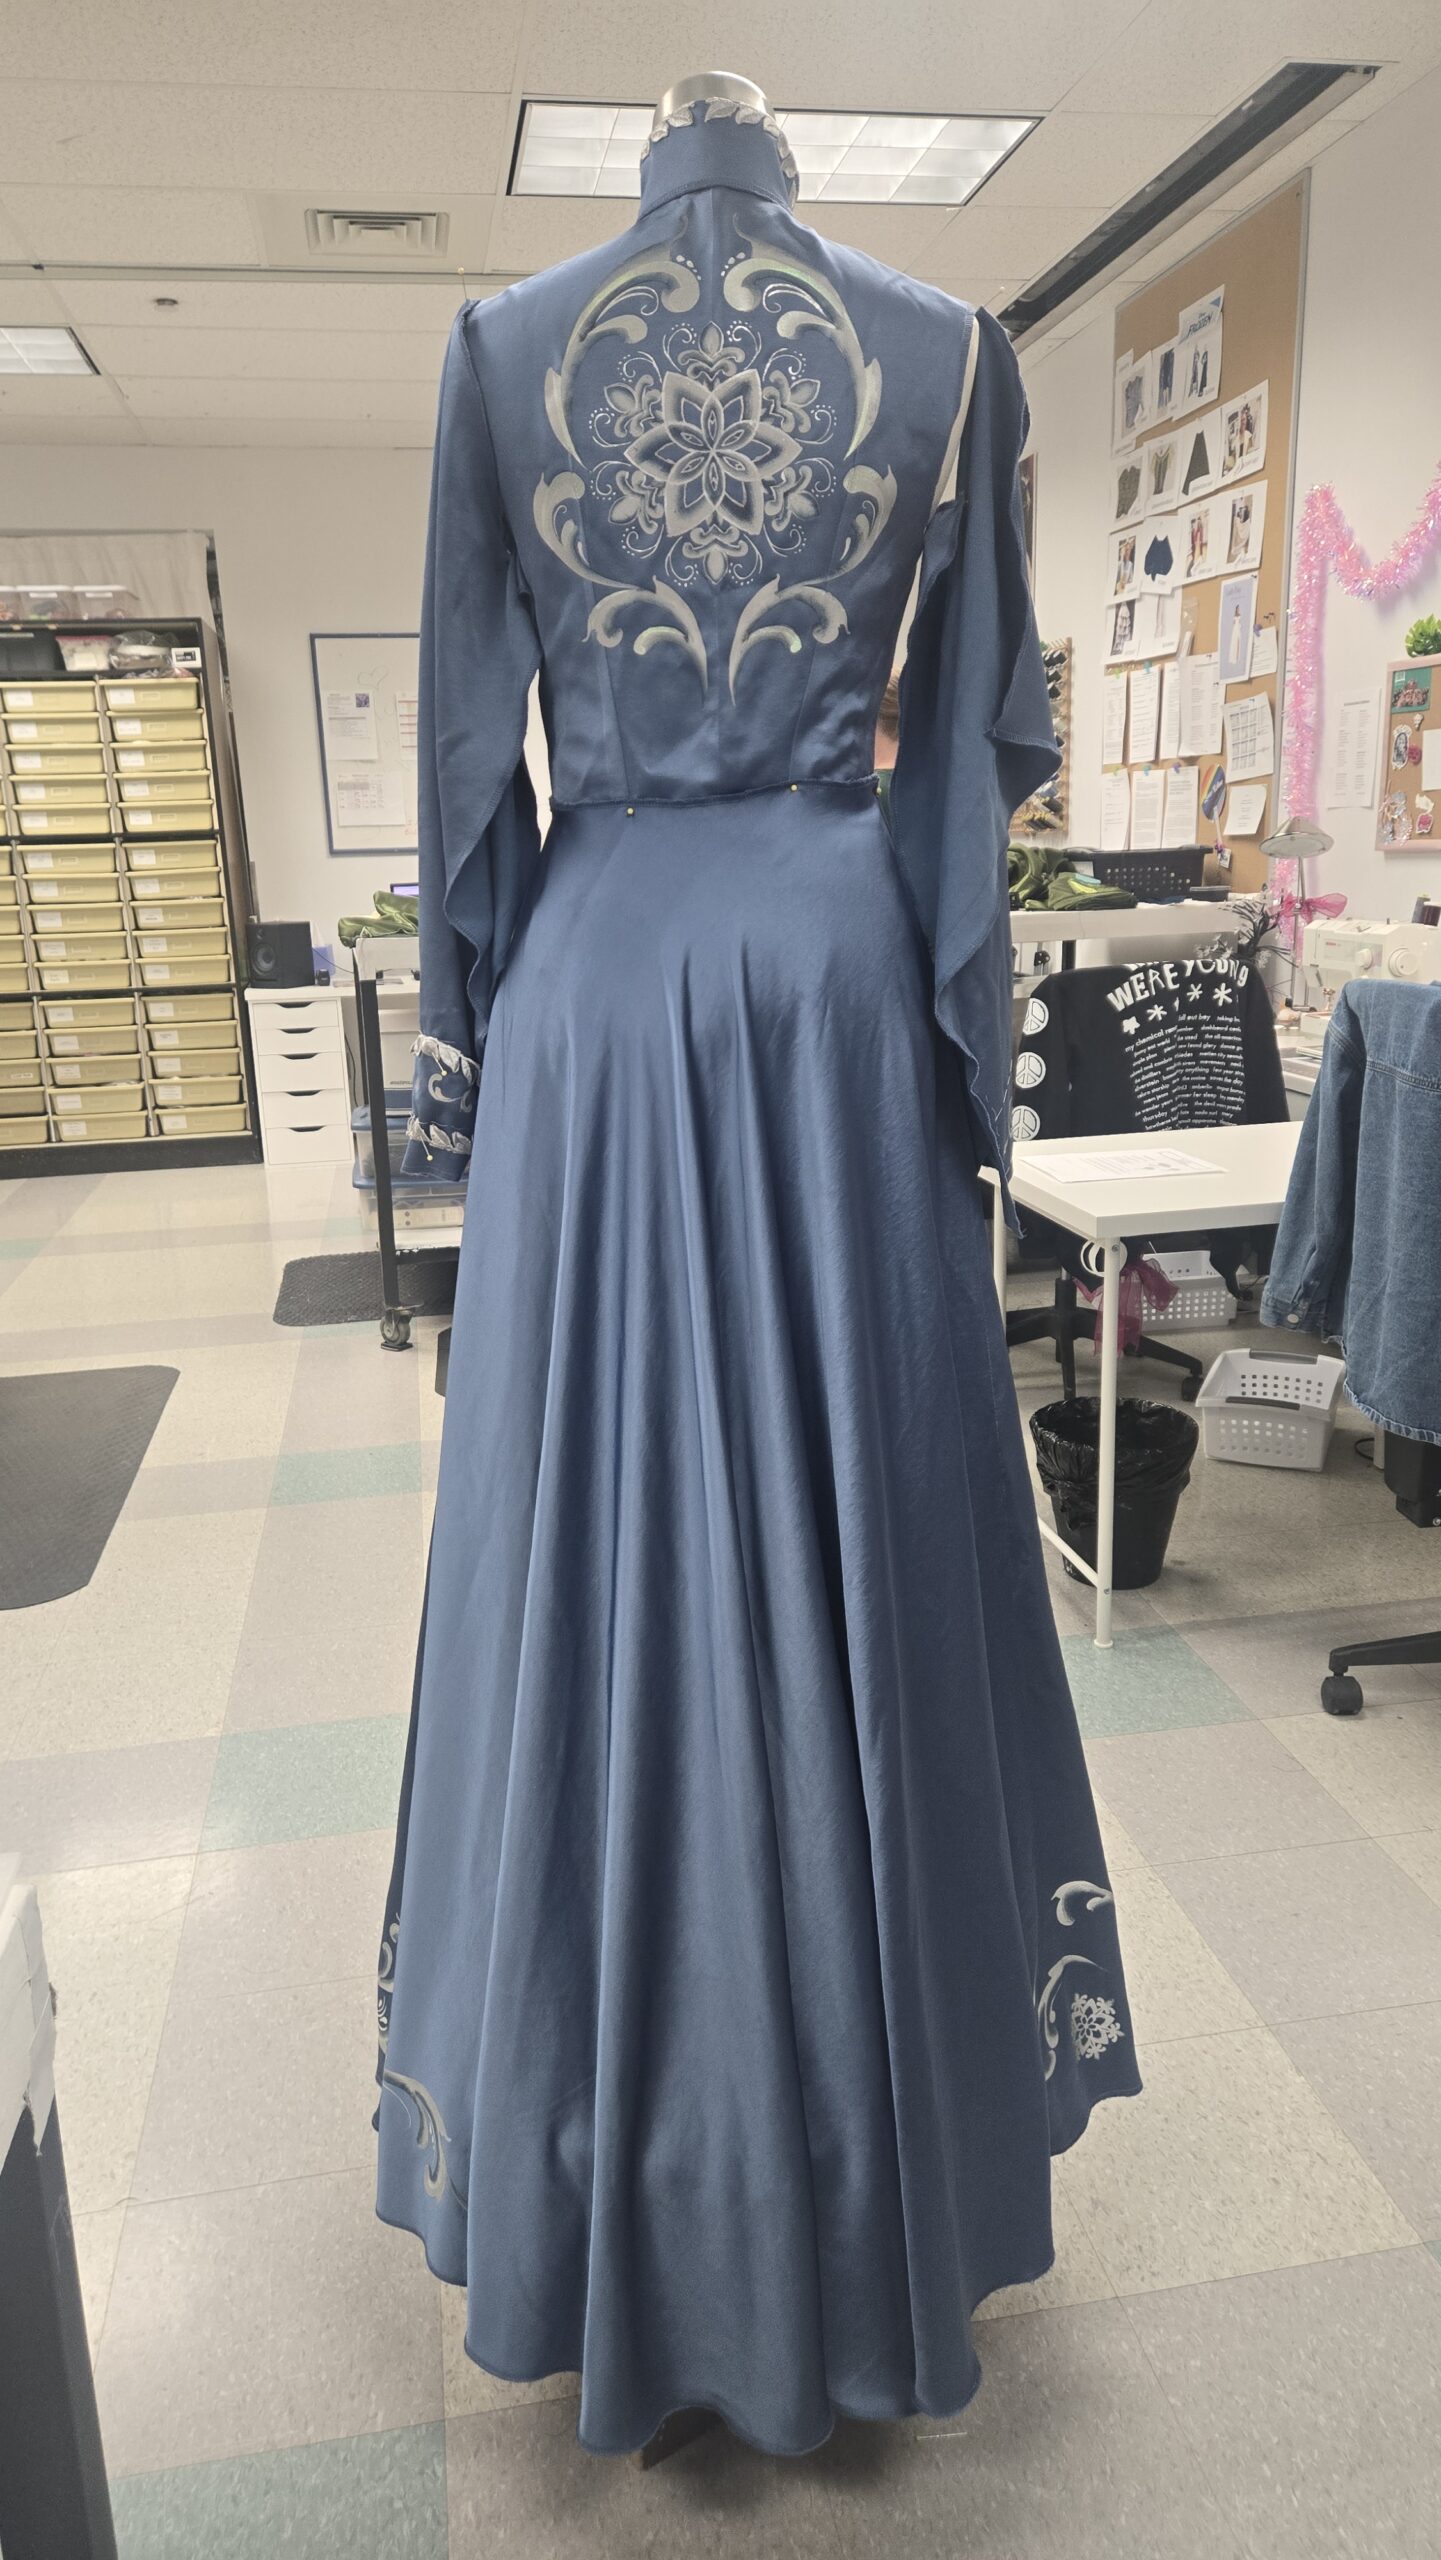
We built all of our Anna’s track, including her corset, petticoat, coronation gown, act 2’s hiking outfit, and a vest from Kristoff that matched the rental package’s Kristoff look. For Elsa we created her blue sparkly “let it go” corset and skirt, and her act 2 duster jacket and pants, her coronation look and tear-away was a part of the rental package.
Process
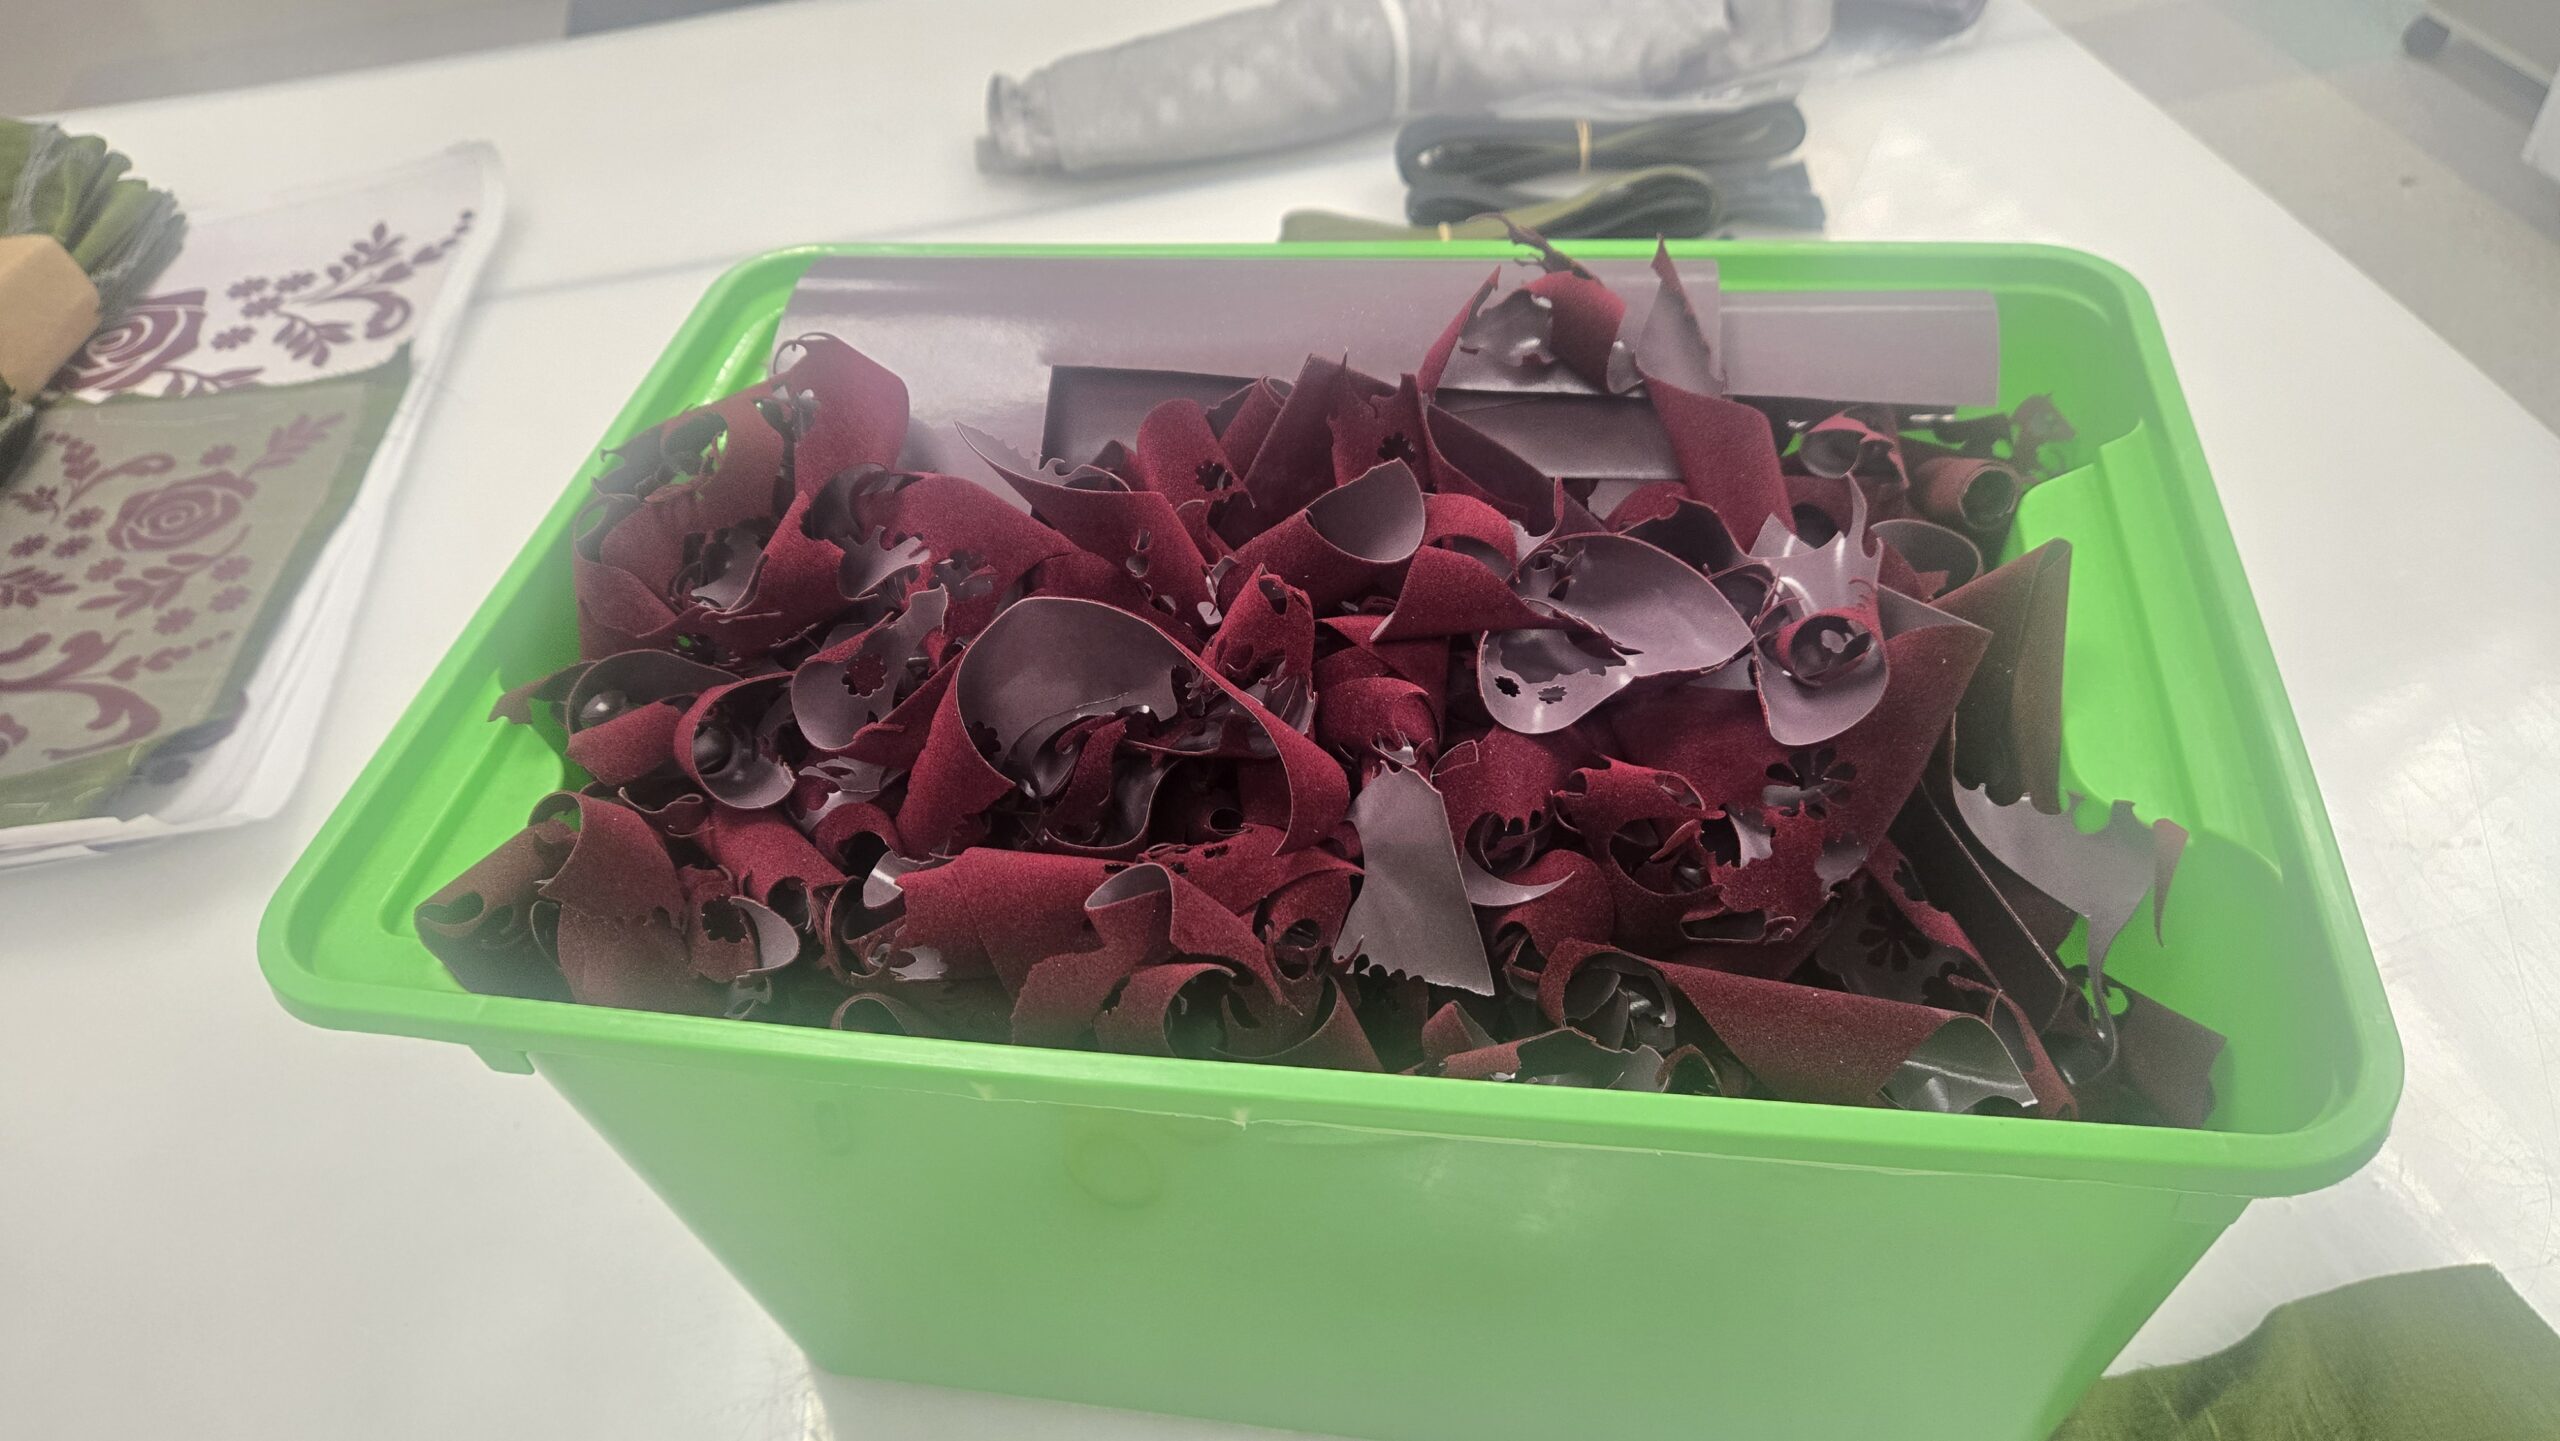
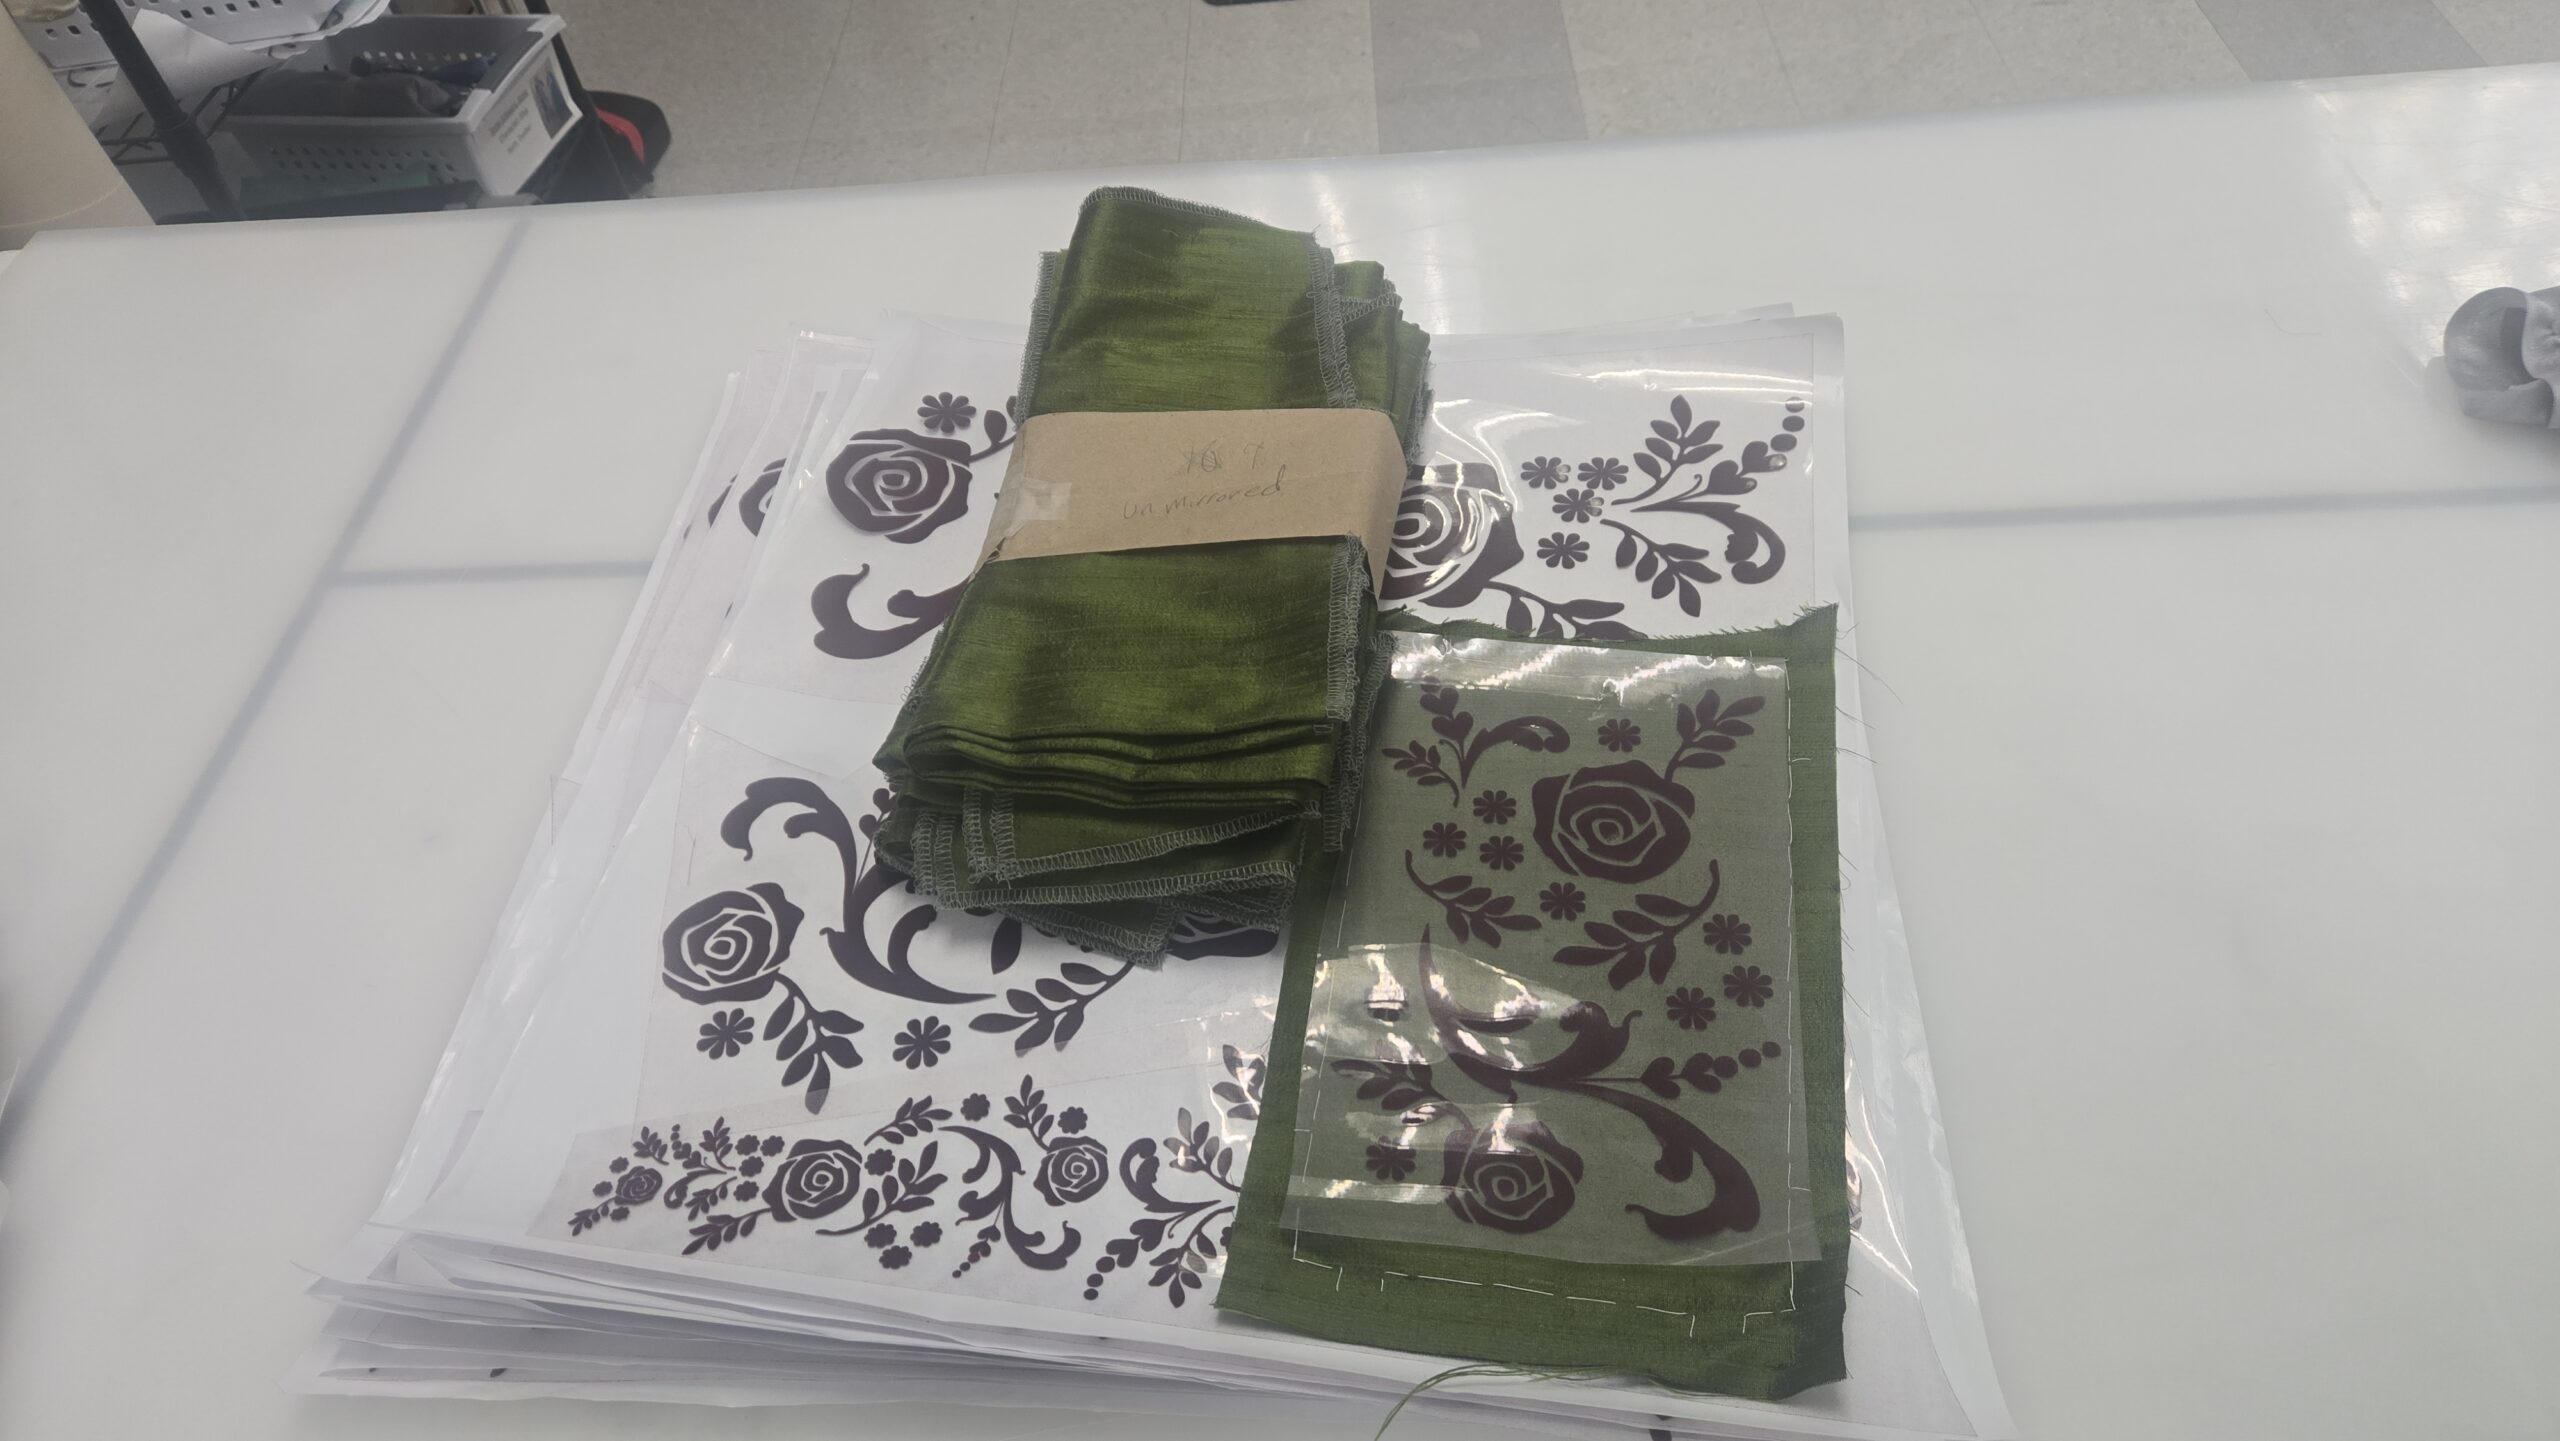
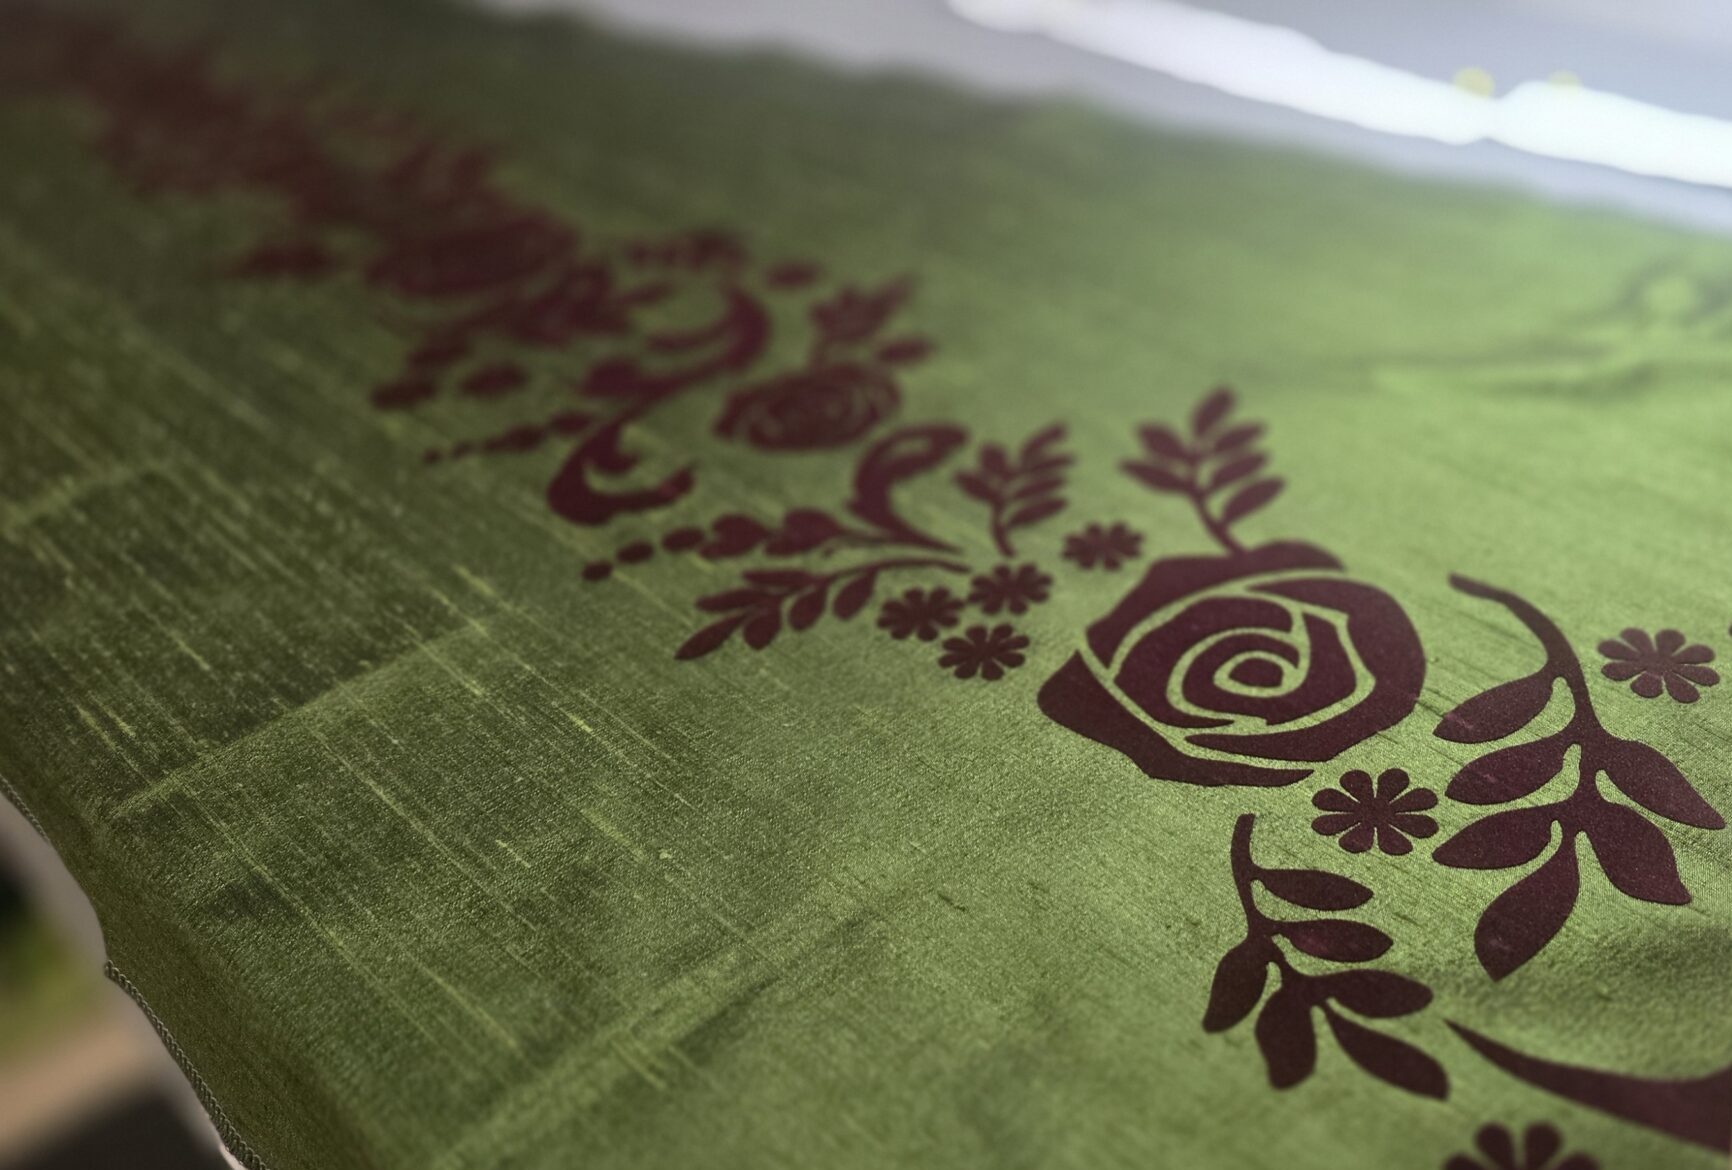
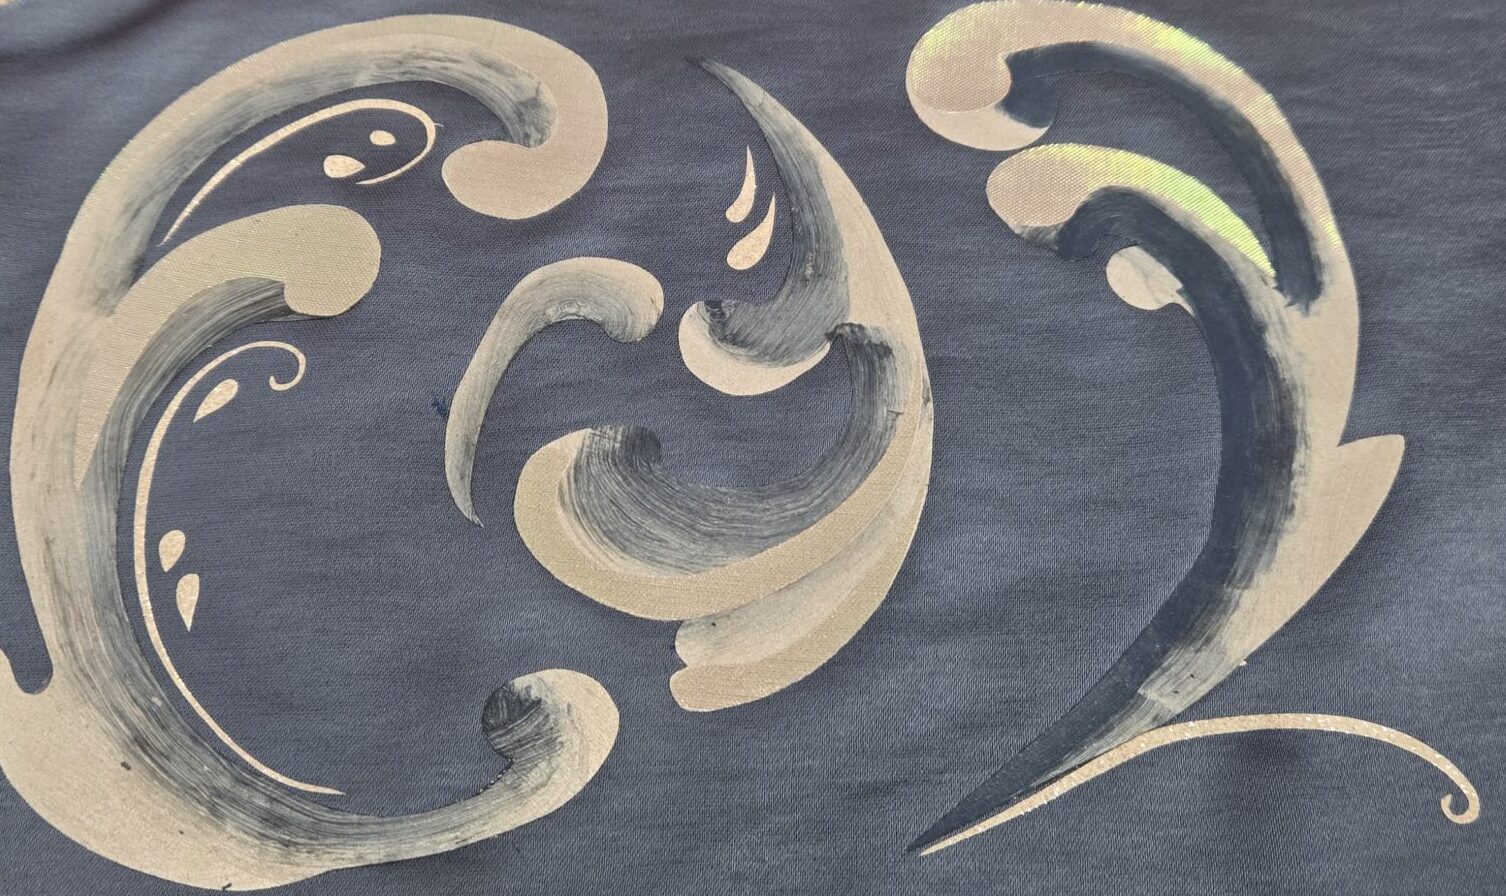
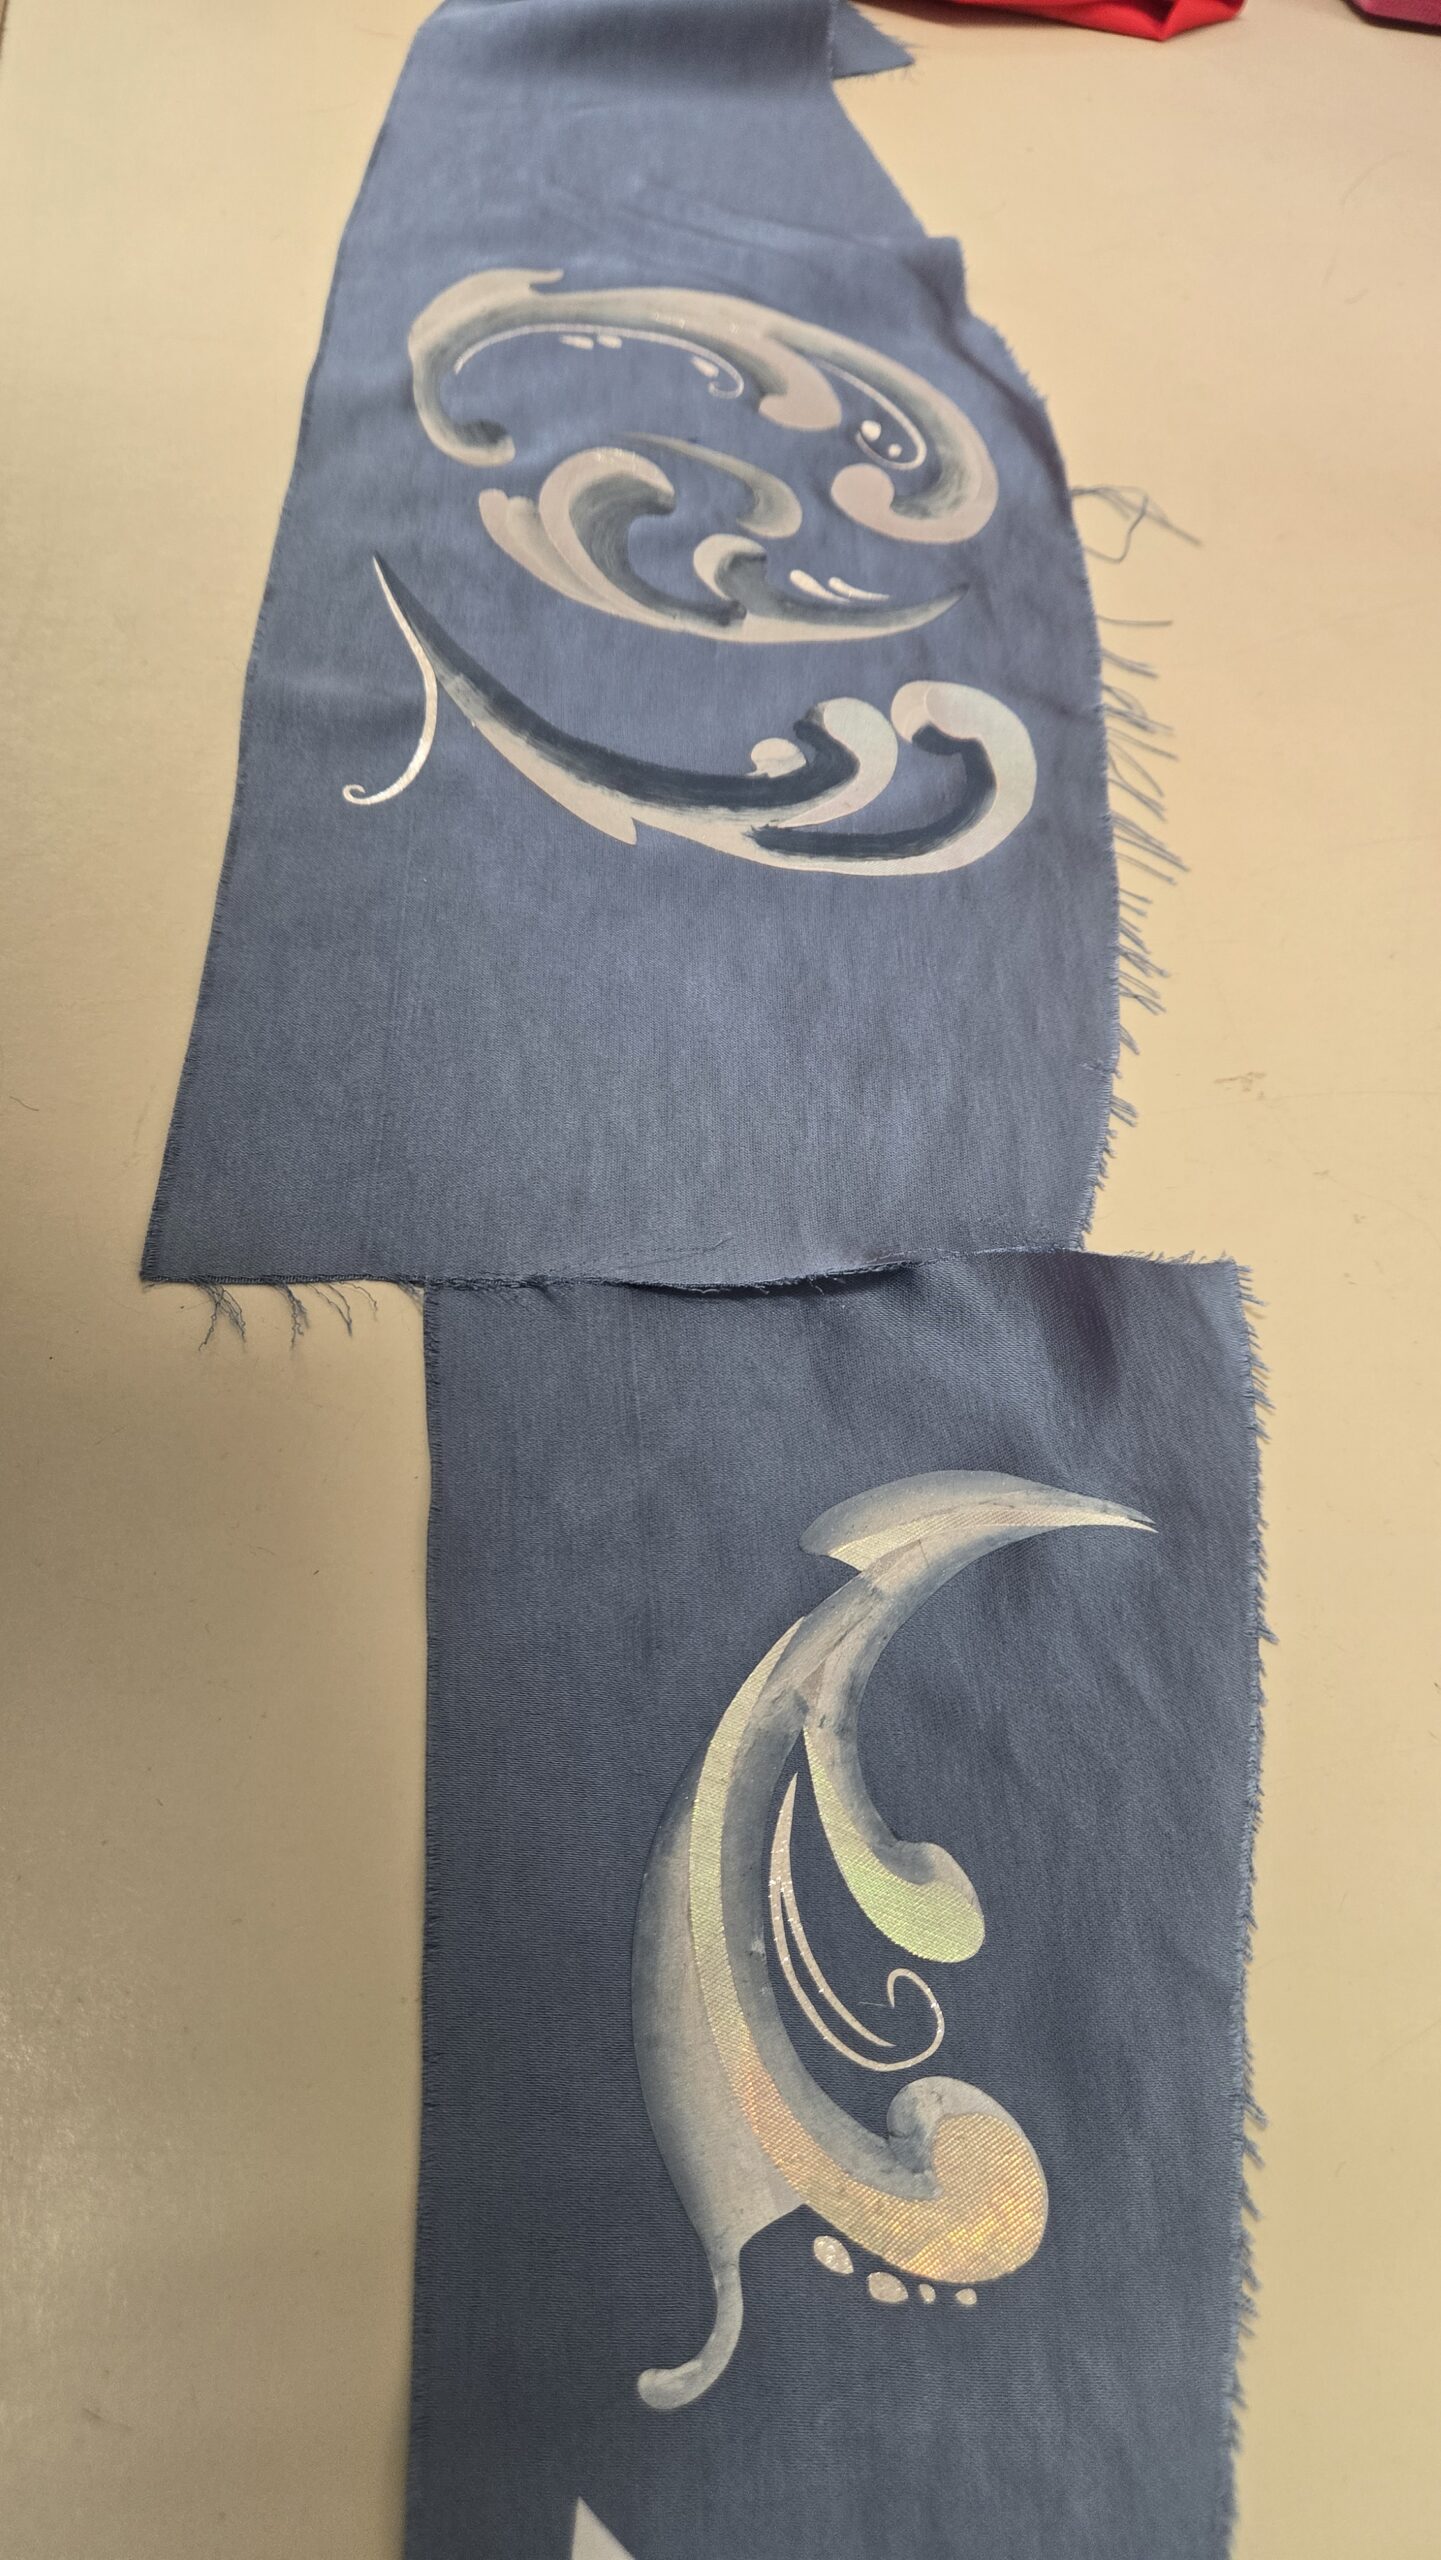
We wanted to achieve a high level of detail in these garments, and with a costume crafts shop of one, Liv Murrow, we started looking into ways to add custom texture and decals to these looks with less time and labor than more traditional methods. We found that different types of heat transfer vinyl (HTV) could be used to great effect. For Anna’s coronation gown and hiking outfit, we used flocked vinyl. This material imitates a velvet’s depth and sheen, while being able to be cut with our Cricut into highly detailed designs. For Elsa’s corset, we used holographic faux-rhinestone material and cut small circles and diamond shapes to apply a large volume of sparkle in a short amount of time. For the duster, we used aurora vinyl for the snowflakes and small details. We also used reflective vinyl, typically used in safety gear, as a base for a rosemaling painting technique to be applied. Murrow was able to take the cut vinyl, transfer it to transfer tape, paint the gradient designs, and then transfer them back onto the garment. This provided a great amount of control in the painting onto fabric, no need to worry about a stray paint stroke or mistake, the crisp swirling lines were well defined by the vinyl.

Process
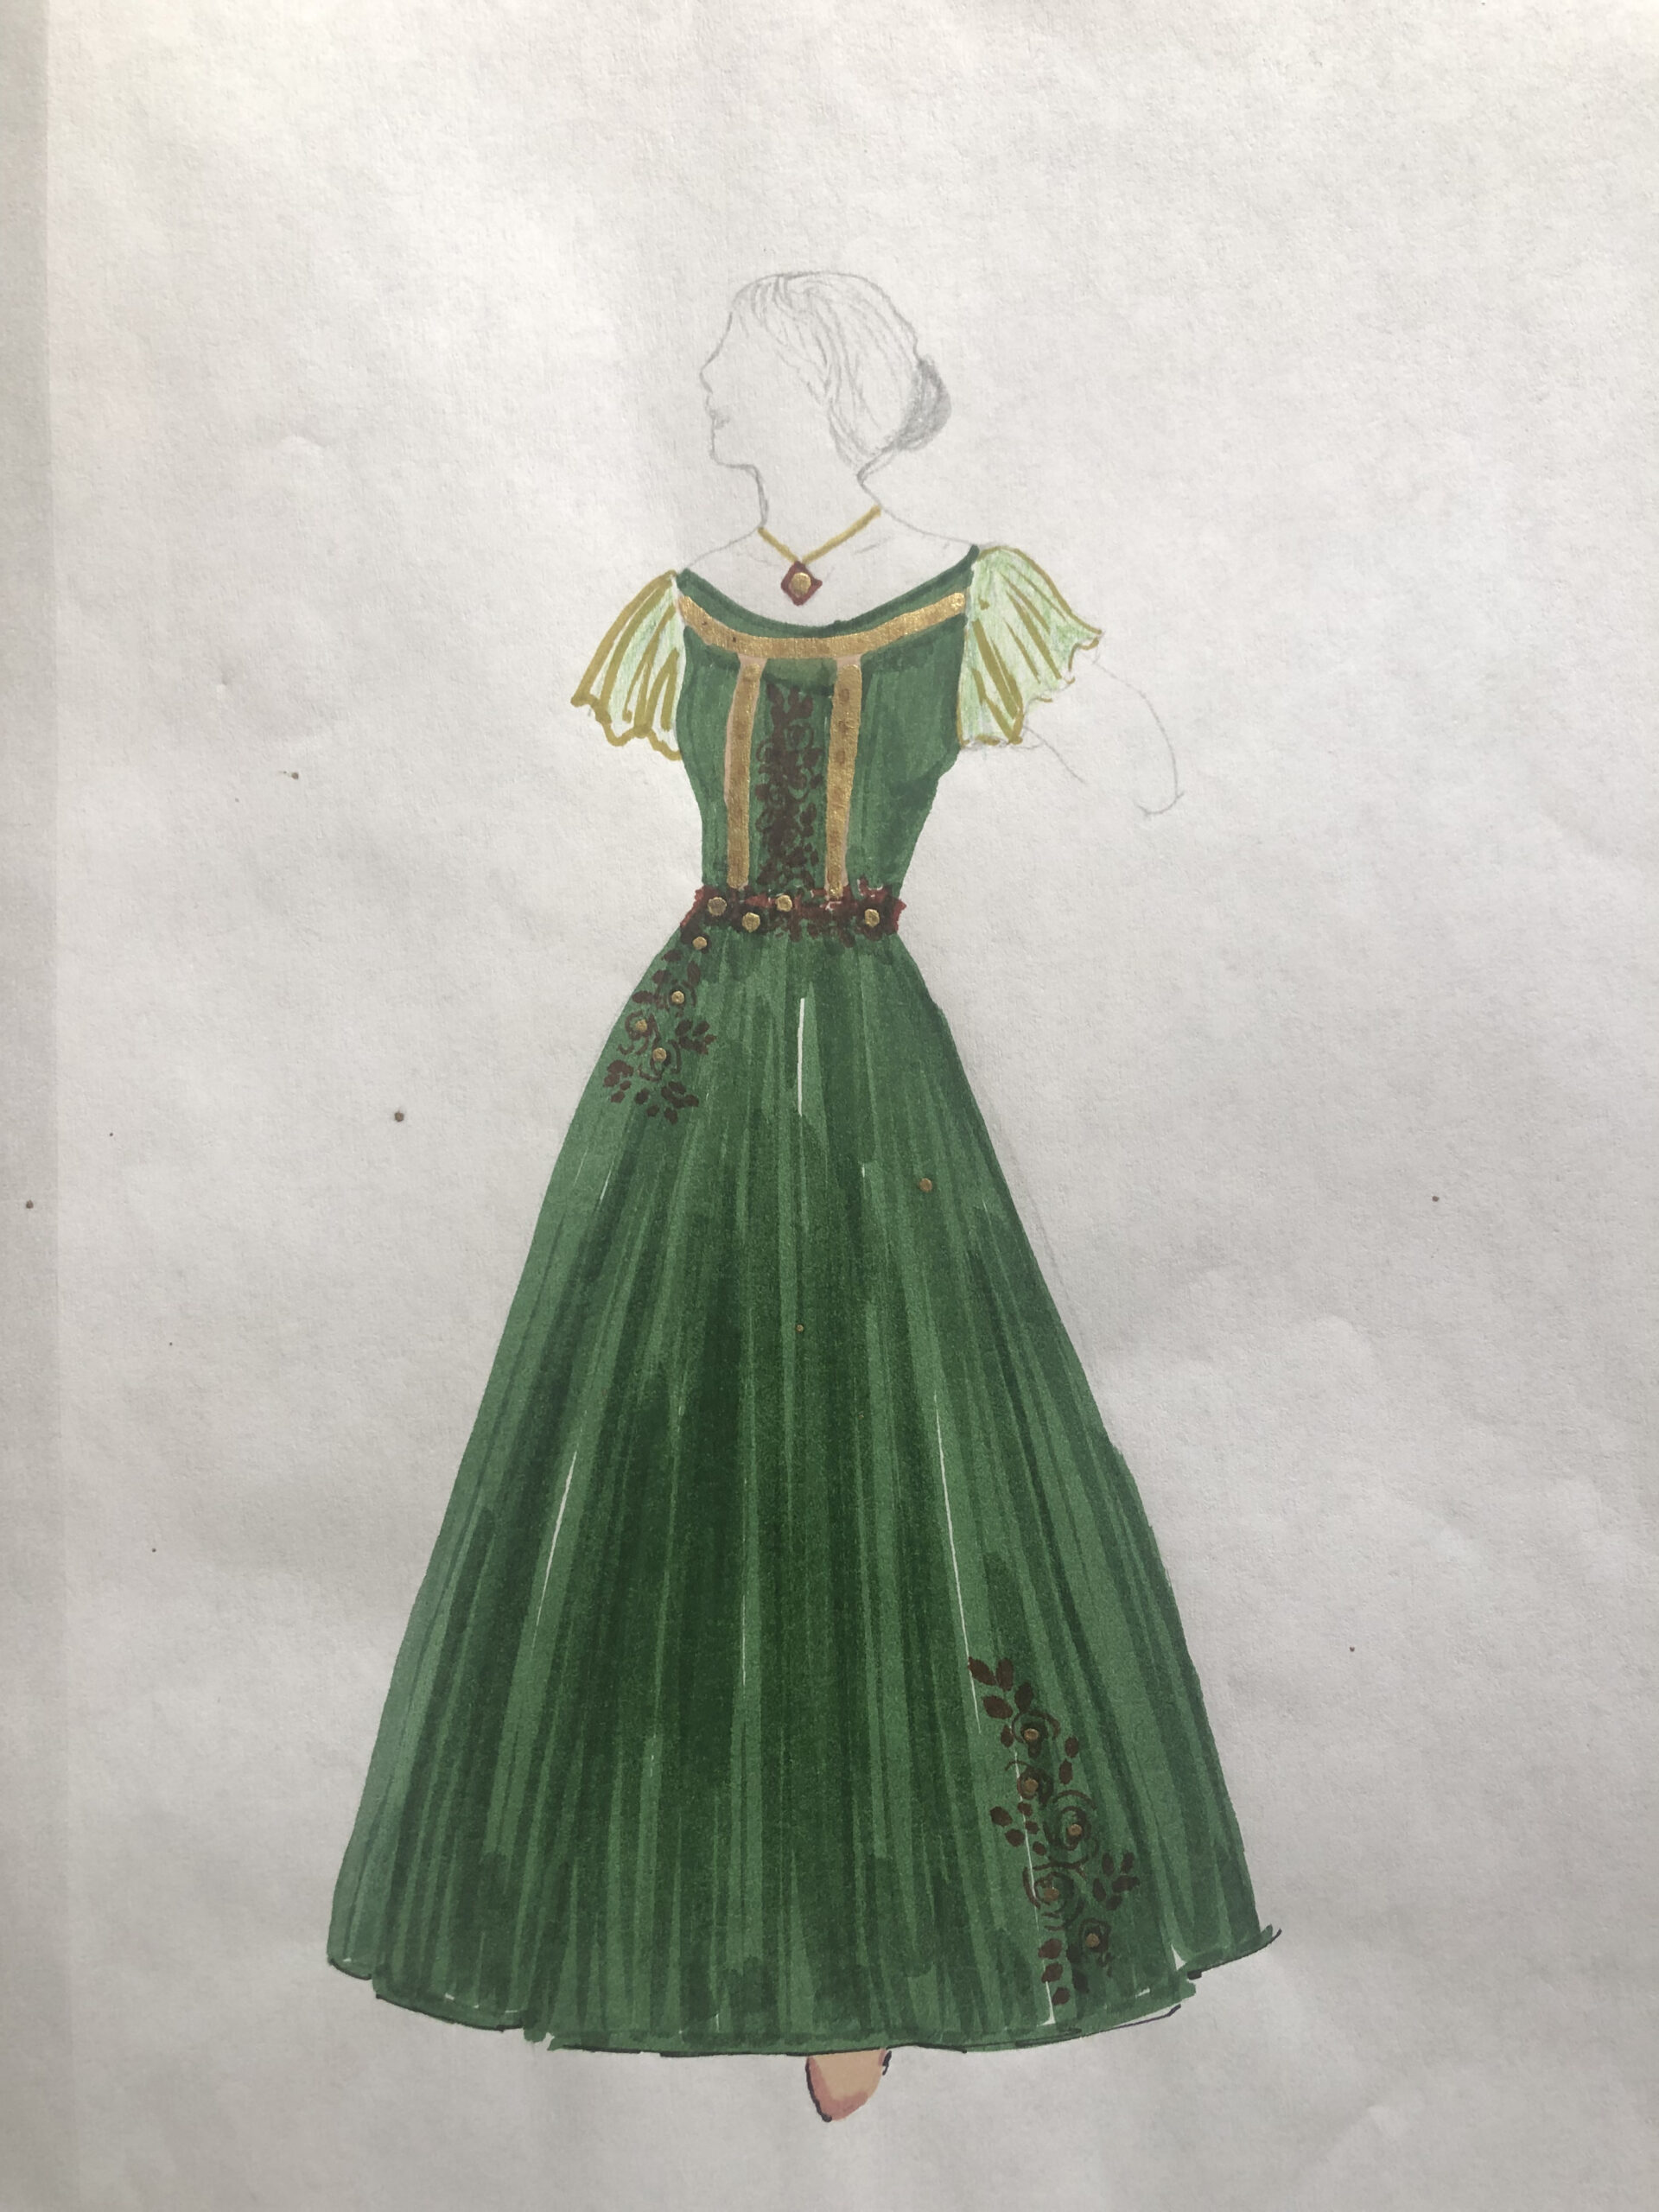
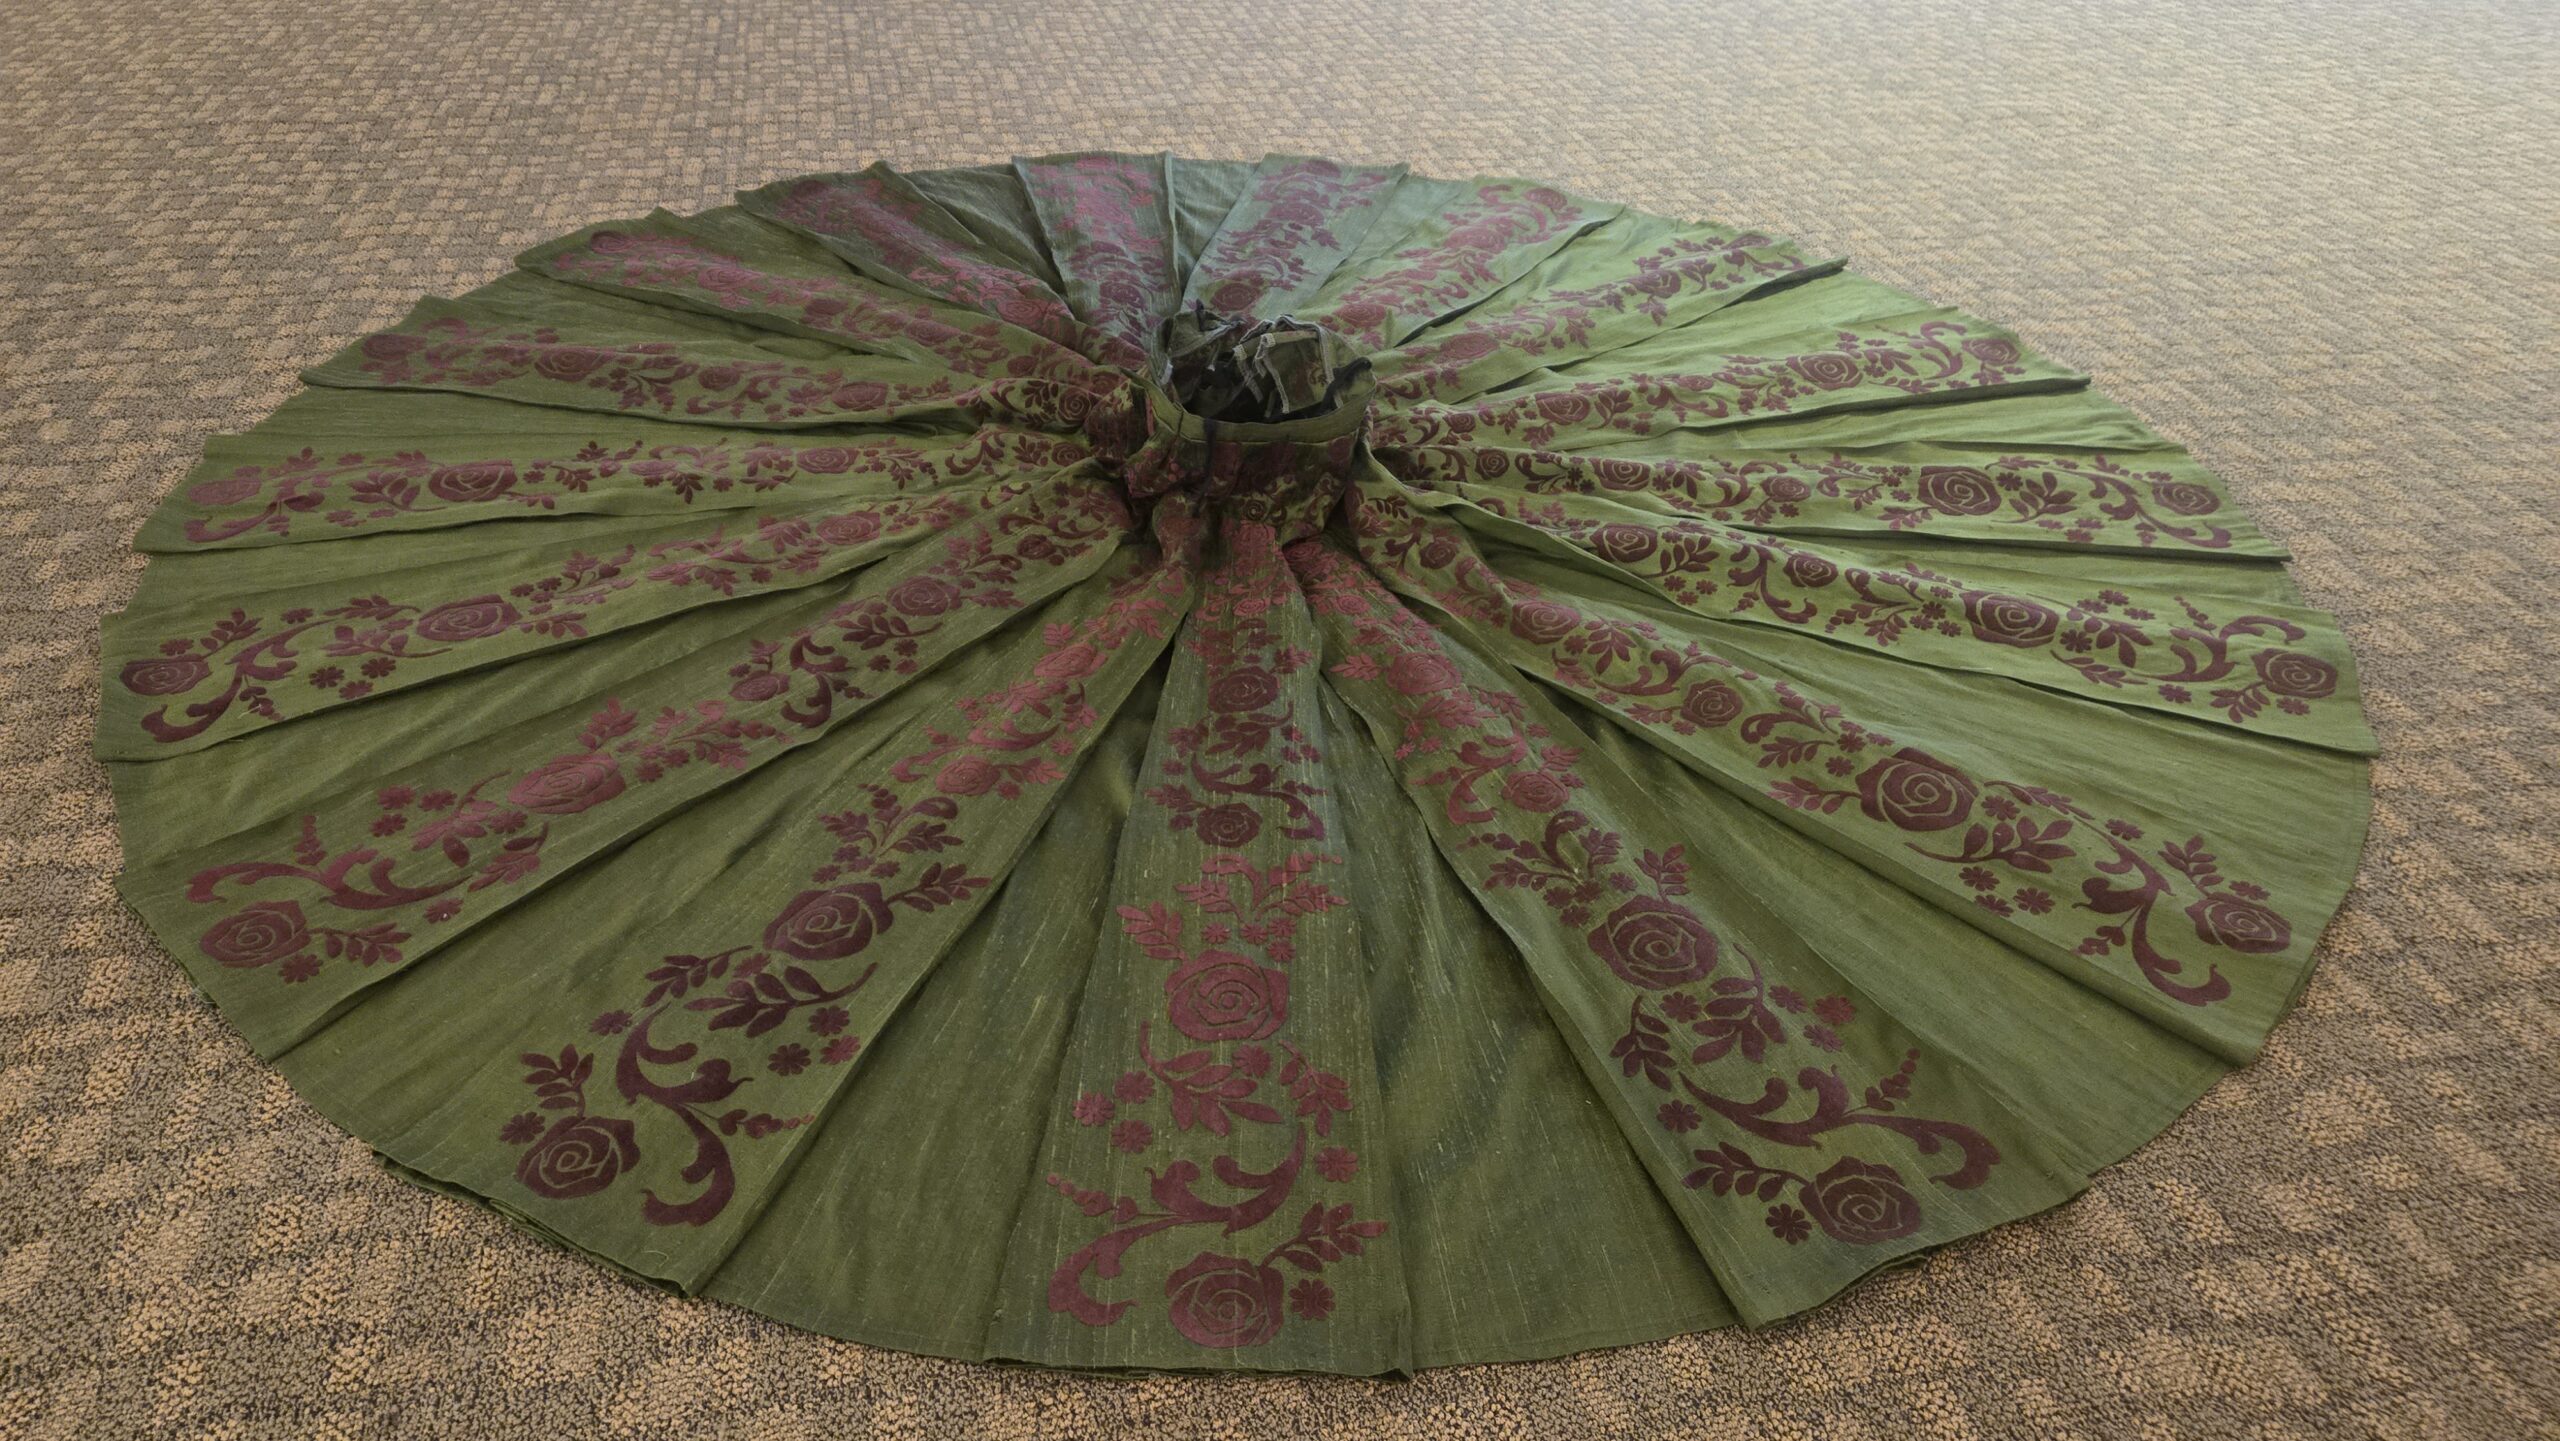
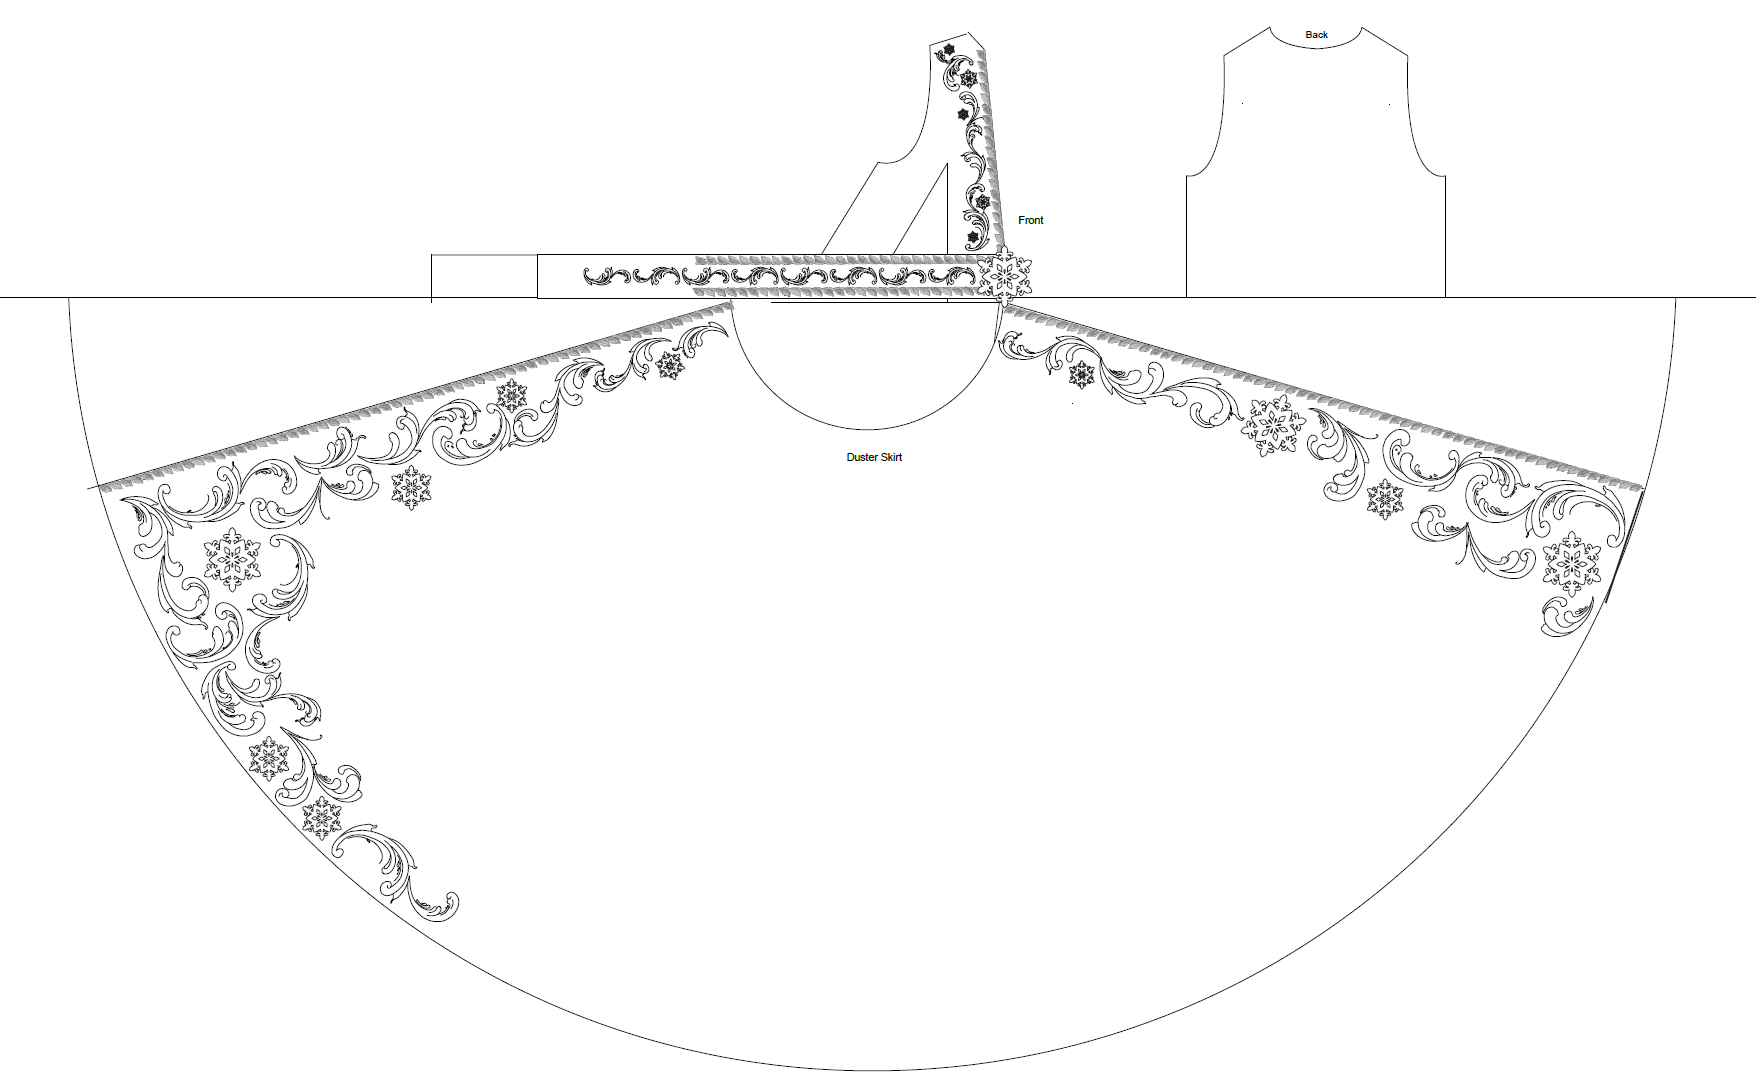
Designer renderings are a great tool to provide a feel for design and detail to the costume shop; however, when working with a Cricut, you need clean edges and specificity in the scale of designs. I was excited to use my skills in CAD (Computer-Assisted Design) in software such as Adobe Illustrator, combined with my draping and flat patterning knowledge, to create digital maps of the potential design options for both Anna and Elsa. This way, we had clear and direct communication with the designer to mock up designs and make real-time changes before any material was used. For Anna, I was given images of trims for inspiration and found transparent PNG images of similar silhouettes online, and combined the motifs to create her skirt panel designs. I applied this to a digitally drafted pattern of the skirt panel with two options for the density of the design, and our designer was able to tweak things until it was perfect. For Elsa, our designer gave the rosemalling inspiration to our craftsperson, who was able to digitally paint a collection of swirls to use as elements for a larger design. Once those elements were simplified into outlines, I created the digitally drafted pattern of the duster to lay out the individual swirls and create the overall design map.
Once the designs were finalized, it was a team effort between Murrow and me to cut and weed, a technique to remove the negative space, of all the HTV according to our design maps. This was done in two ways, with Anna’s design, we cut the long panel into segments that would fit in the size of the Cricut Heat Press. With Elsa, I wanted to make sure the map was clear since Murrow would be cutting and pressing these swirls while I did Anna. Therefore, I labeled the swirl types 1 out of 6, then it was marked if was cut normally or mirrored, then I used the alphabet to label each swirl position on the digital pattern, and lastly because my digital drafting is done to scale I was able to calculate each swirl’s specific dimension for Murrow to type into the Cricut software to cut to size.